One of the best things about Android is how customizable it is. Android phones allow you to customize them based on your mood. Changing Android fonts seems like a logical extension of this philosophy, although it’s not always as simple as one might expect. The good news is that where there is a will, there is a method! Read on to learn how to change fonts on Android!
Install custom fonts on Android devices, some phones have already integrated them!
While standard Android (still) doesn’t have the ability to customize the system’s character, many manufacturers have adapted their software to support this much-needed feature. Companies like Samsung, HTC, and LG make it easier to change the font on Android.
The process may vary by specific phone, but you can usually find this option in the settings, typically in the “Display” section. From there you can change the font and font size.
For example, almost all Samsung devices allow you to change the font style. Samsung has pre-installed some additional fonts in addition to the default one, but you can buy others online through the Galaxy Store (both free and paid).
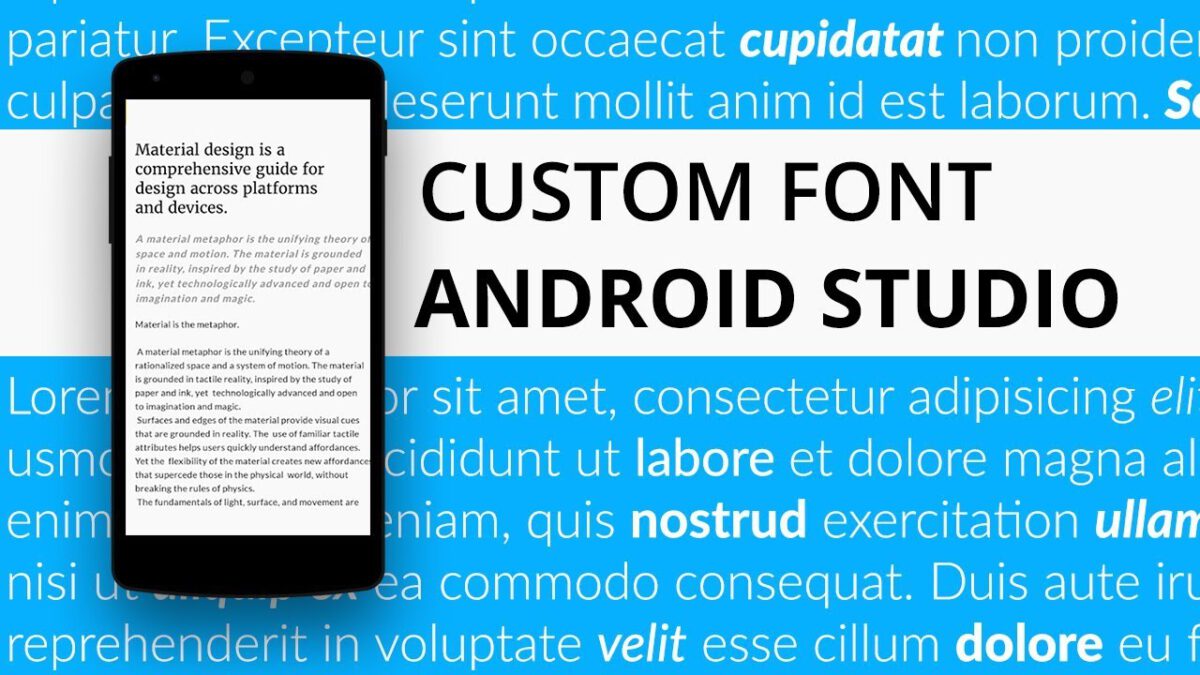
Selecting a font requires a quick trip to Settings> Display> Font size and style. Just touch the name of the desired font and confirm that you want to set it as the system font. Font substitution is instantaneous; no need to reboot. The selected character will be displayed in the device interface, such as the time on the status bar, system menus and even in text messages.
Download and install custom fonts on Android devices through apps and launchers
If you can’t change the system-wide font, a useful trick to change the font for Android is to install a custom launcher. This will replace the main screen and will often be able to influence other elements of the user interface in the system as well. By customizing the fonts in this way, you will change the appearance of the device most of the time. If not, there are a couple of apps that will allow you to manually change fonts for Android. We will explore our best choices below.
DONT MISS- The best Android launchers – Our selection for 2020
Apex Launcher
One of the most popular third-party launchers is Apex Launcher. Here’s how to change the fonts on the phone’s main screen after downloading and installing Apex Launcher.
- Go to the Apex Launcher settings.
- Tap the “Main screen” selection.
- Tap the “Layout and style” option.
- Finally, tap the “Font label” selection and choose the font you want to use for the home screen.
If you want to change the font in the app menu, there is another method to do it via Apex Launcher:
- Go to the Apex Launcher settings.
- Touch the “App Drawer” selection.
- Tap the “Drawer layout and icons” option.
- Finally, scroll down, then tap the “Font label” selection and choose the font you want to use for the app drawer.
Finally, you can change the font of your phone’s folder like this with Apex Launcher:
- Go to the Apex Launcher settings.
- Touch the “Folder” selection.
- Finally, scroll down and then tap the “Font Label” selection and choose which font you want to use for your folder.
GO Launcher
GO Launcher is a launcher aimed specifically at those users who like to personalize their phones. This includes changing the characters. To change the font styles in GO Launcher, do the following after downloading the application:
- Copy the TTF or OTF font files to the phone.
- Long press anywhere on the main screen and select “GO Settings”.
- Choose font> Select font.
- Choose the font or tap “Scan” to add the files stored on your device.
This will not change system-wide fonts but will change them through the app, which will include most of the menus and apps you will interact with on a regular basis.
Action Launcher- Pixel Edition
Another powerful launcher for Android customization is the excellent Action Launcher- Pixel Edition. To change your font using Action Launcher, go to the settings and then choose Appearance> Font. Now choose the font you want. You won’t have a large selection here, just system fonts and some variations, but it’s even better than nothing!
- Go to the Action Launcher settings.
- Go to Appearance> Character.
- Choose a font you want to use and you’re done.
Smart Launcher 5
Smart Launcher 5 is another launcher that will allow you to select new fonts for Android. This time, you will enter the settings and choose Global Appearance> Character. There is a good selection of fonts available in Smart Launcher, which is great for those who really want to express themselves. It is a pity that, once again, the change will only have an impact on the characters in the app.
- Go to the settings of Smart Launcher 5.
- Go to Global Appearance> Character.
- Choose a font you want to use and you’re done.
iFont
iFont is not a launcher, but rather an app used specifically to change fonts on Android. It is completely free and supports many Samsung, Xiaomi Meizu, Huawei, HTC, Sony and Motorola phones.
On non-root devices, use the iFont Online tab to search for available fonts. To use a font in the list, do the following:
- Enable installation of apps from “Unknown sources”. This option is usually found in Settings> Security.
- Start iFont and go to the “RECOM” or “FIND” tabs to find the characters.
- Touch the name of a font you want to install.
- Touch the “Download” button.
- Tap the “Set” button to install the font.
- Go to Settings> Display> Font size and style. The newly installed font should appear in the list.
- Tap the new font to use it as a system font.
- The font is applied immediately. A restart is not necessary.
You can also copy TrueType (TTF) fonts from your PC to the / sdcard / ifont / custom directory; the characters will then appear in the “Custom tab”. But in order to install and use fonts, you will need a rooted device.
Unfortunately, the tradeoff is that Samsung One UI no longer seems to support iFont (or at least I haven’t been able to get it working). Therefore, you may find that newer Samsung devices don’t work. An alternative exists, however, and is called Wings Samsung Fonts.
Download and install custom fonts on older root Android devices
Download and install custom fonts on Android devices, what distinguishes Android among all the existing operating systems for mobile devices is its great flexibility and customization capabilities.
This is because of its open-source nature, but it is true that once you gain root access on your Android phone or tablet, you get the license to shape it according to your needs and tastes. The customization possibilities have attracted thousands of developers who work hard to create new options and features for the operating system.
Who can imagine a completely different look of the platform with reference to WindowsMobile or iOS? The variety that Android offers is truly overwhelming. The various OEM and ROM specific UXs such as CM, PA, and MIUI are some of its examples.
There are various ways in which you can personalize your Android device. The things that personalize our smartphones are custom ROMs, launchers, widgets, icon packs, UI mods, backgrounds, and fonts. We continue to share these things and today, we are here with a good bunch of custom fonts for your Android phone or tablet.
Of course, you can find some good paid apps and enjoy the fonts of your choice on the device, but if you have root access, you can also install custom fonts on Android for free.XDA contributor gianton shared hundreds of beautiful fonts for Android devices.
These fonts are available as ZIPs via flash which can be installed with a custom recovery such as ClockworkMod or TWRP. By downloading its mega pack, you can have 355 custom fonts for your Android. By visiting the original gianton thread, you can also download most fonts separately.
I have tested some of these characters in 4 of my devices (Galaxy S4, note 3, 5 and HTC Nexus One) and they worked perfectly on each of them. So if you want your favorite font to add to the beauty of the phone UI, just download the fonts, flash them and experience the novelty.
Download Fonts:
Downloads- 355-upgradeable via flash-zip-by-gianton.zip
Compatibility:
As for the compatibility of these custom fonts, they can be installed on any rotated Android phone or tablet:
- Android 4.xx (ICS, Jelly Bean, KitKat)
- TouchWiz, Sense 5 / 5.5, AOSP, CyanogenMod, ParanoidAndroid, Google Play Edition, MIUI, and others.
Custom font installation:
Please note that installing one of the ZIP fonts will not install in place of the fonts on your device. That is to say, you will be able to use only one font at a time. If you want to try another font, you will have to install it again. The installation of the new font is performed as if you were installing a new ROM on the device.
- Copy the desired character file (zip) to the internal or external SD of the phone.
- Reboot the device in CWM/recovery TWRP.
- Don’t forget to back up your current ROM before trying the fonts.
- In recovery mode, select “Install” option (in TWRP) or “install zip from sdcard” (in CWM).
- Locate the zip font file, select it and confirm the installation.
- When the font flashed, “clear the Dalvik cache”.
- Finally, restart the device.
The phone will reboot and you will see “Android is updating…” message on the screen. Now you should see the newly installed font applied to the device. Have fun!
