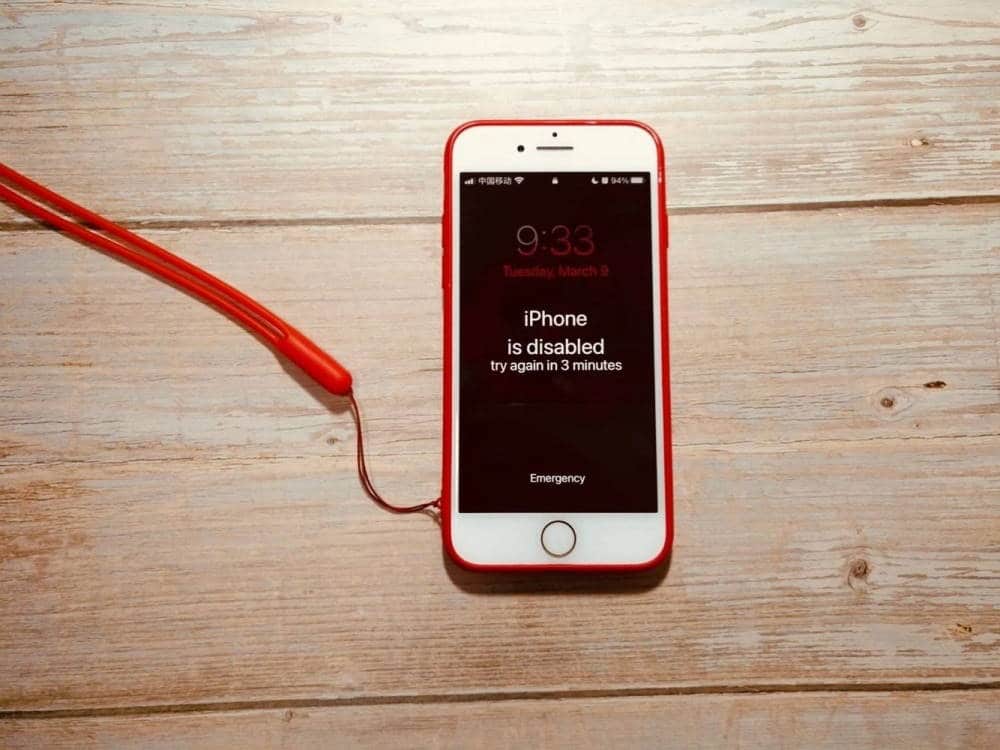
When you input the incorrect security passcode too many times, your iPhone is disabled, and you won’t be able to enter or try any more passcodes to unlock it. You would understandably be concerned if you were locked out of your device and unable to access your files and folders. This is not a life-threatening issue that can be quickly resolved. To learn how to reset a disabled iPhone, use any outlined methods.
It’s aggravating when your iPhone is disabled or locked. This can happen for various reasons, such as forgetting your password, breaking your screen, or receiving error messages stating that your “iPhone has been deactivated.” If you have this problem, you will need to restore your device with iTunes, but you will lose all of your data, and iTunes may or may not be able to solve the problem. As a result, this post will teach you “how to unlock a disabled iPhone?“
Part 1: Why is your iPhone disabled?
These error messages almost generally indicate that you’ve entered the passcode incorrectly too many times, and the iPhone has shut down to prevent a prospective hacking attempt. One of the iPhone’s built-in security features prevents brute-force efforts from bypassing the passcode.
If a phone thief could merely keep guessing passcodes – and especially if they could link it up to software that spits out guesses far faster than a person – they’d finally get in. If you employ a four-digit code, keep in mind that there are ‘only’ 10,000 possible combinations, which might be cracked in 4 hours and 6 minutes by a person and 6 minutes and 34 seconds by a computer.
IOS makes it more difficult to enter many wrong passcodes to counteract this strategy. You can keep going as usual if you get it wrong a few times (up to five); if you get it wrong six or seven times, it’ll merely slow you down a little, but the more times you get it wrong, the more difficult things become. Once you’ve gotten to ten, you’re done guessing.
Part 2: Restore Your iPhone Using Recovery Mode:
The first approach is to restore an iPhone in the recovery mode using iTunes. Always make sure you have the most recent version of iTunes installed on your computer. To finish the procedure, follow the steps below.
- Begin by connecting your USB device just to your computer.
- Hold the power button down until the screen shows, then slide it off.
- Connect the iPhone to the USB cable already attached to your computer while holding down the home button. The Apple logo will appear first, followed by the recovery logo.
- Release the home button once you see the recovery logo. Your iPhone will be in recovery mode at that moment.
- Now switch your focus to iTunes. A dialogue box should appear, indicating that you’re in recovery mode. You may then select “Restore” in that window to restore the device to a previously stored backup file, as seen below.
Part 3: Fix a disabled iPhone with 4uKey iPhone unlocker?
Tenorshare 4uKey iPhone unlocker is a useful program that may be used to restore data from a deactivated iPhone without the need for iTunes. It is a great option if your iPhone is disabled or if you have been locked out of your iPhone.
Follow the instructions below to learn how to use Tenorshare 4uKey to reset a disabled iPhone.
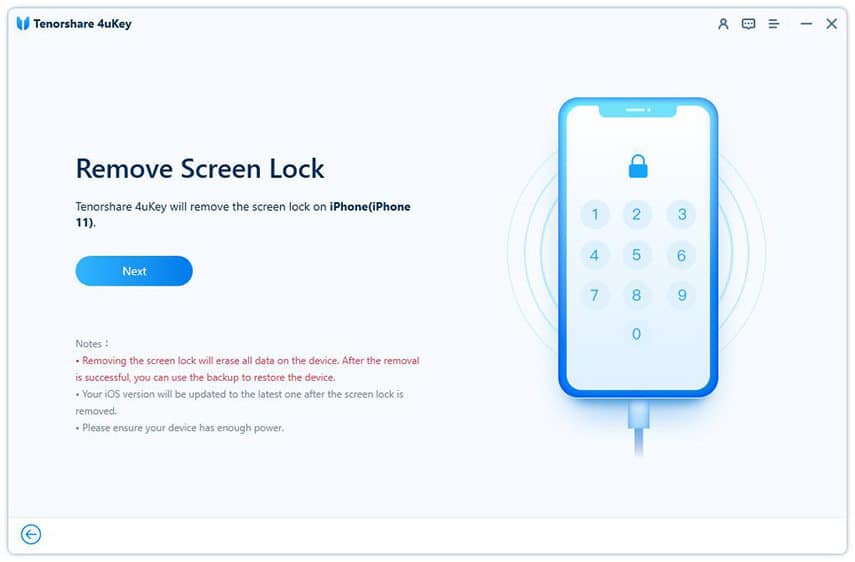
Step 1: On your Mac/laptop, download, install, and start Tenorshare 4uKey. Using a USB cord, connect your disabled iPhone to this Mac/laptop and choose “Start.”

Step 2: Then the software will instantly recognize your device, and select “Next.”
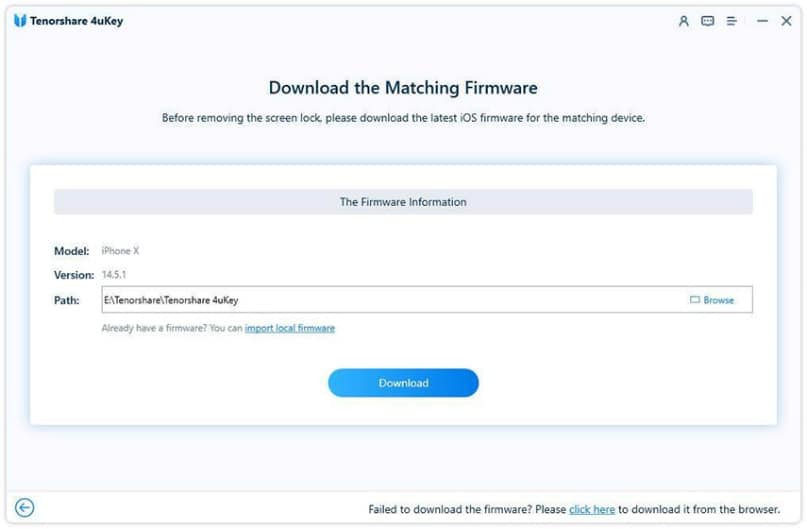
Step 3: Select the location/path where you want the Firmware package to be downloaded and saved, then click “Download.”
Step 4: Once the current package has been downloaded to the given place, click “Unlock Now” to erase the passcode from your iPhone and restore it.
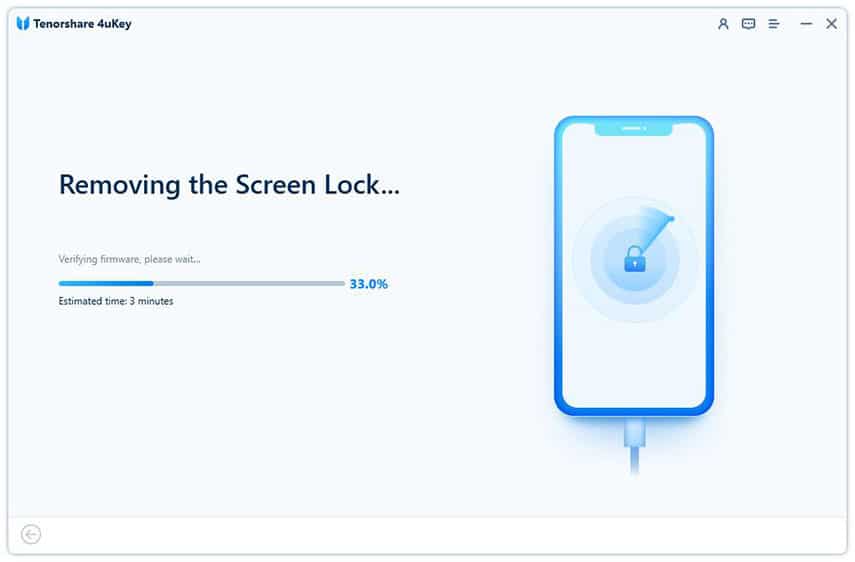
Your iPhone’s settings will now be returned to factory defaults, and the passcode will be deleted. The backup is available for download through iTunes or iCloud. This approach demonstrates how to restore an iPhone that has been deactivated without the use of iTunes.
Part 4: Restore Your iPhone with iTunes:
You will have to wipe all of the data on a disabled iPhone if you reset it. This shouldn’t be a problem if you’ve made a backup previously. However, iTunes has a lot of quirks and is difficult to use. If you wish to utilize iTunes, you must first disable the Find My iPhone function before proceeding.
Second, you may get unexpected connection issues if you haven’t previously synced your iPhone with iTunes. If you still want to know how to use iTunes to restore a disabled iPhone to factory settings, follow the instructions below.
Step 1: Connect your disabled iPhone to your Mac/laptop via a USB connection.
Step 2: Go to the Summary tab on the iPhone.
Step 3: After the backup has been produced, select “Restore.”
Step 4: If “Find My iPhone” is activated, you must disable it before proceeding.
Step 5: When iTunes asks whether you want to restore your iPhone to factory settings, hit “Restore and Update” to confirm.
Part 5: Restore Your iPhone through iCloud:
Using iCloud as an alternative to erasing the disabled iPhone and starting over is feasible, but only if Find My iPhone is enabled and the crippled iPhone has a data connection.
Go to icloud.com and click on Find iPhone on your Mac (or another iPhone or iPad). You’ll be prompted to enter your Apple account password.
After a brief delay, a map displaying the position of your devices will emerge. At the top of the page, click All Devices, then choose the iPhone you wish to delete. Select Erase iPhone from the menu.
Final Words:
Your iPhone will be deactivated if you input the incorrect passcode ten times. So, how to undisable an iPhone? The only alternative will be to factory reset the disabled iPhone, which may be done in one of three methods. As you can see from the comparison table, the first technique of utilizing Tenorshare 4uKey software is the most effective and least complicated. As a result, using this program over others is strongly recommended.
