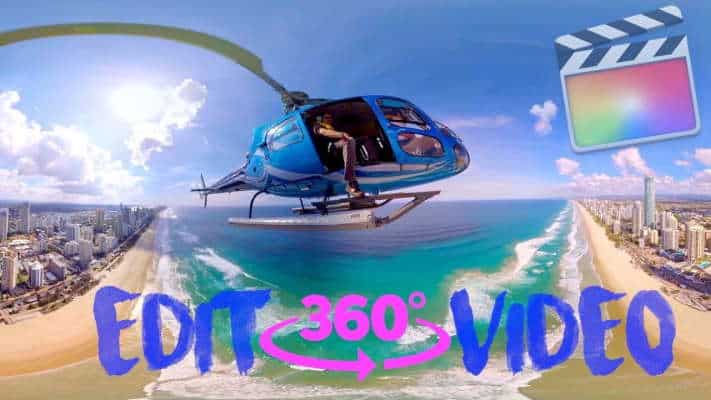
Recently, Apple released Final Cut Pro X 10.4, one of the most powerful video-editing apps for professionals. The latest version of Final Cut Pro X 10.4 comes with a lot of notable features such as the ability to import and edit 360° equirectangular video in a lot of formats and frame sizes. Apple has made sure that editing 360° video in Final Cut Pro X 10.4 on Mac continues being a seamless feature. With my experience with the Final Cut Pro X 10.4, I can say that it is well executed.
Aside from allowing you to import and edit monoscopic or stereoscopic 360° video in a wide range of formats and frame sizes, the Final Cut Pro X 10.4 also allows you to export 360° video to a connected VR headset. You can also simultaneously monitor the equirectangular video and the 360° video in the Final Cut Pro 360° viewer. Read on to learn more.
How to Edit 360° Video in Final Cut Pro X 10.4 on Mac
How to Import 360° Video to Final Cut Pro X 10.4
If you want to monitor with a VR headset while editing, you need to make sure that the VR headset you are using is supported. You also need to make sure to install the supported software.
Before you import a 360° footage into Final Cut Pro X 10.4, you need to make sure to create a single 360° image, also known as a stitched image.
For editing in Final Cut Pro, the single 360° image must be an equirectangular projection. An equirectangular image looks somewhat like a world map that depicts the world as a two-dimensional (2D) rectangular.
- You need to ensure you have stitched all the camera angles together and formatted your 360° media for equirectangular projection.
- Select the file and then click on Import.
- Click on Media
- Next, you need to select your clip and click on Import. The 360° clip will appear in the viewer as an equirectangular view.
Once you have imported the 360° media, you need to check your 360° media’s metadata tags because they affect how the clips behave in viewers. And the software creates projects based on the clips you import.
- First of all, you need to select the clip in the browser and then select Window.
- Next, click on “Show in Workspace” and then click on “Inspector” or press Command+4 on your keyboard.
- Now, click on the ‘i’ button in the Inspector.
In the inspector, you have to make sure that 360º Project Mode pop-up is set to Equirectangular. Also, make sure to set the Stereoscopic Mode pop-up to the mode in which the media had been recorded.
How to View And Navigate The Clips in Final Cut Pro X on Mac
In Final Cut Pro, you can easily view and navigate 360° in a dedicated viewer. Follow the steps below.
- Click on the View.
- Click on “Show in Viewer” and then click on 360º.
- The 360° is displayed on the left side of the viewer. If you want to watch the clip in full 360°, you need to select the clip on the browser and then click and drag in any direction you wish to view in the 360° viewer.
You can also navigate the 360º viewer while you are playing back a project.
There are also options to change the following controls in the 360º viewer:
To reset the angle and view to its default orientation, click on Settings at the top of the 360º viewer window and then click on “Reset Angle.”
If you want to widen the field of view, simply drag the slider towards.
To reset the field of view to the default setting of 90º, you need to click on the 360º viewer.
If you are using a VR headset to track video, simply click on Settings in the 360º viewer and then click on “Output to VR Headset.”
How to Edit 360° Video in Final Cut Pro
- You need to, first of all, create a new 360° video project.
- Next, click on the File menu and then click on “New Project”.
- Now, you need to add the 360º clip into the new timeline.
Final Cut Pro X 10.4 will now automatically set the properties of the project to be the same with the properties of the clip. However, you can also create custom project settings now.
If you want to change the master orientation of a clip, simply adjust its tilt, roll and pan.
If you want to cover up images you do not want, you can easily use the patch effect and apply other 360º effects, generators and titles.
How to Change the Master Orientation Of A Clip in Final Cut Pro
All 360º video clips have a master orientation, which is basically an initial angle which viewers see when they start watching the video.
This depends on how the video was initially recorded. If you want to change this orientation, you will have to use the Video Inspector, onscreen controls in the viewer or the Horizon guidelines.
How to Hide Unwanted Objects In A Clip in Final Cut Pro
Final Cut Pro comes with a 360º Patch effect which you can use to hide a tripod or other objects you do not want to appear in the clip. To do so, you need to clone an area in the image and then place it over the object you want to hide.
Final Cut Pro features a couple of special 360° versions of some standard effects including glow, blur and sharpens effects.
You can go on and make the most of these 360° clips and 360° projects without creating seams or unwanted distortions.
Final Cut Pro also comes with titles and generators. These titles and generators have been specially designed for use in 360° projects. 360° generators include 360° Color Solid and 360° Gradient generators.
That is all!
Enjoy fine-tuning your wonderful clips:
Once you are done editing your video, you can share the clips on a number of video sharing and social media websites that support 360º video. For example, you can post your clips on Facebook 360, YouTube VR channel and Vimeo 360.
The software puts 360° metadata in the output media file so it can be recognized easily. It also allows you to export master file, XML files of events, projects, or libraries with the 360° clips and projects.
So what do you think about the latest version of the Final Cut Pro X app? Tell us what you think in the comments section below. Also feel free to ask any questions you may have.

I followed your instructions and was able to load a 360 clip on the timeline. However, I am unable to create a “point of view” or change that view on the timeline. For instance, if I am on a hike, I want to be able to show the video image on the left, then rotate to forward, then rotate to the right. It is not evident how to perform that on the Final Cut X timeline. Thank you for any consideration.