BlueStacks app player is one of the most popular Android emulators for PC, if not the most famous. It’s something like having a mobile phone or virtual tablet on your PC, so you can play mobile games from your PC, using the keyboard and mouse.
BlueStacks specializes in games, including several additional benefits such as the ability to open multiple games at once, as well as a full set of controls. Here we will see how to get started and get the most out of this Android emulator for Windows and Mac.
How to download Bluestacks
The easiest and safest way to download BlueStacks is from its official website. A green Bluestacks Download button is prominently displayed, which without intermediate steps or stories starts downloading the appropriate file for your operating system.
The minimum requirements to use BlueStacks are not high. Windows requires Windows 7 or later, 4GB of RAM, and 5GB of a hard drive. Mac requires Mac OS Sierra (10.12) or later, 4GB RAM and 4GB hard drive. Obviously, the more powerful your PC, the better, as you will get better performance in games and, therefore, a smoother experience with them.
How to install Bluestacks
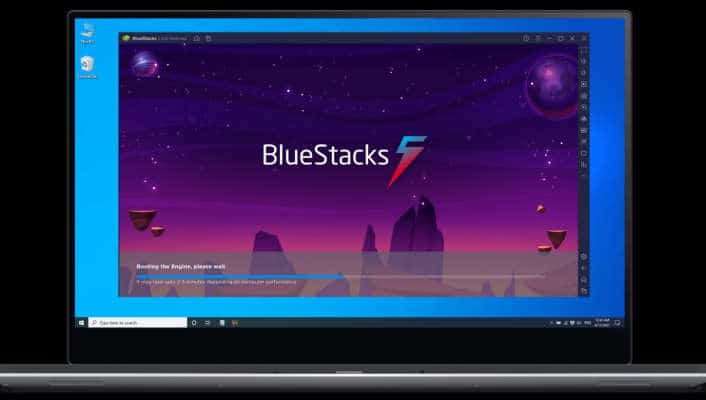
From the BlueStacks website, you will download the installer, which you can start like any other application: with a double click. Bluestack download is very simple and contains no traps. Press Install Now and the download will start earlier, about 500MB, to continue the installation.
A big plus of BlueStacks is that it comes with Google Play out of the box, so you can download games and applications directly from the Google Store. To use it you need to log in with a Google account. This step is optional, as there are other ways to install applications, as we’ll see below.
Bluestacks how it works
After its installation BlueStacks is empty except for the browser, the application to view files, and little else. You don’t find any games installed, but you can quickly fix it. There are basically three ways to install apps and games on BlueStacks.
The traditional one is the same as an Android mobile: from Google Play. To do this you need to be logged in with your Google account, but otherwise, it’s as easy as ever: you search for an application and install it. This mode has the advantage that Google Play will only show you compatible applications and that, a priori, it should work fine in the emulator.
Bluestack app player also includes its own Application Center, which is something like a directory, list, and top ten of applications and games on BlueStacks. Accessible from the Home tab (bottom), it’s another way to find and install apps and games, though keep in mind that in some cases the download will take you to Google Play. That is, you will also need to log in with a Google account.
Finally, you can also install applications from APK files. In fact, after installing BlueStacks on PC, APK files will automatically associate with BlueStacks. This means that starting the installation is as easy as double-clicking on one of these files.
Keep in mind, of course, that APK files must be compatible with the emulator. They must have an x86 architecture and be compatible with the background Android version used by BlueStacks.
Configure the controls
Once you have installed games and applications, opening them is as simple as clicking on the corresponding icons on the Home tab. The main problem with playing mobile games on PC is that you can’t normally use touch controls like on mobile devices. The good news is that BlueStacks helps you with pre-configured controls for many popular games.
If you’re planning on playing PUBG or any other minimally popular game on BlueStacks, its controls are more than likely already pre-configured. You will know this because the light bulb icon is clickable and when you press it a window appears that summarizes the controls.
The pre-configured controls are usually more than enough, but you are always free to customize or adjust them. Also, you may come across games that aren’t pre-configured. Then you will need to create the configuration.
Setting up the game controls isn’t particularly difficult, although it will require a lot of trial and error. Basically, it gives you ten controls that you can place on the screen so that they touch or perform different actions with the push of a button (or with the mouse).
In other words, if in a game you need to click on a specific part of the screen to shoot, drag the Tap control to that spot and assign it a keyboard key or mouse click. BlueStacks is also compatible with controllers connected to the PC.
Record your games
How could it be otherwise, it is possible to record your gaming sessions directly with BlueStacks. It is done with the push of a button on the toolbar, although the recorder is not pre-installed with BlueStacks. That is, the first time you press the button, you need to install the feature (although it installs in seconds).
Advanced options
BlueStacks works perfectly as it is installed, but you are always free to access options to configure some additional aspects. For example, if you have a particularly powerful PC, you can go to the Engine section to increase the FPS or allocate more cores and memory to the emulator.
BlueStacks uses a heavily tweaked and cropped version of Android, but it’s still Android. As such, it has the entire Android settings menu for everyone, which you can access from the Home tab, by clicking on More apps, then the Settings icon.
From the Android settings, you can check installed applications, accounts, and languages or change the system date and time, among other settings. It’s not the full list of settings you might find on a current mobile or tablet, but something is something.
