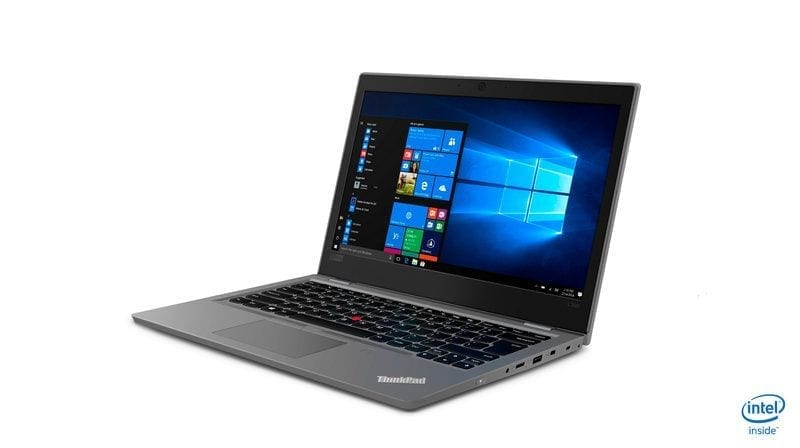
Lenovo is one of the most famous computer manufacturers to date. In fact, its extensive catalog of products includes Desktop PCs and laptops for every budget and every need. Just like other manufacturers, though, it often happens that you need to change some settings through the BIOS admin panel or to do other things like installing Windows 10 from scratch or formatting your PC. In this guide today we will show you just how to enter the Lenovo BIOS through procedures that vary depending on the version of Windows installed.
Of course, if you follow the points step by step, it will not be at all difficult to do this. Before starting to list the solutions in detail, we want to make a very important clarification. All laptops, so even those from Lenovo, available with Windows 8 and later versions of Microsoft’s operating system no longer have the classic BIOS but a more advanced panel called UEFI.
It brings with it several improvements compared to its predecessor as support for disks larger than 2 TB or on some models can be used more easily with mouse and keyboard. In any case, we will indicate in the procedures listed below how to enter the BIOS easily both on computers with Windows 7 and earlier, then with BIOS, and both on the latest generation machines from Windows 8 onwards, then with UEFI.
How to enter the Lenovo BIOS with Windows 10
If you have a Lenovo computer of the last generation, then with Windows 10 OS, we will indicate below a procedure to easily access UEFI directly from the operating system itself.
Let’s see how:
- Click on Start with the mouse or press on the dedicated button on the keyboard.
- Choose Settings by pressing the gear icon.
- Press on Update and security in the window that appears.
- Select Restore from the next menu and click on Restart now present in the second section Advanced start.
- On the blue screen, several options will be offered to restart the Lenovo computer. Click on Troubleshoot.
- Then choose Advanced Options and then UEFI Firmware Settings and Restart.
- After the notebook restarts, the UEFI configuration menu will be shown.
In most cases, the small operating system is divided into several tabs. For example, in the Main one, you can find basic information about the PC hardware or you can set the date and time. In the Advanced one, you will find different settings on the CPU frequency, while in the Security one you can access some settings to set a password.
If you have not been able to enter UEFI via the procedure seen earlier, it means that your Lenovo notebook has the old BIOS. Let’s see how to access it:
- Click on Start in the lower left corner.
- Hold down the Shift or Shift key on the keyboard.
- Click on Stop.
- Select Stop / Update and stop to completely shut down the PC and disable the Windows 10 fast start.
- With the computer off, press and hold the F12 key and turn it on to access UEFI. If the F12 key does not work, try Canc or F2.
How to enter the Lenovo BIOS with Windows 8.1
In case you have a Lenovo computer with the Windows 8.1 operating system, entering the BIOS would require a procedure very similar to that seen for the latest version of Microsoft’s operating system. The substantial difference, in fact, lies in the access mode to the Settings panel.
Let’s see how:
- Open the settings using the key combination Win + I.
- Choose Change PC Settings at the bottom.
- Click on Update and restore and then on Restore.
- Then click on Restart Now in the Advanced Startup section.
- Again you need to click on Troubleshooting and then on Advanced Options.
- Once done choose UEFI Firmware Settings and then Restart to access the administration panel of your Lenovo computer.
If the procedure does not work, or if your machine has the old BIOS instead of the new UEFI, try turning it off by holding down the Shift or Shift key and press F12, Canc or F2 when you switch it back on.
How to enter the Lenovo BIOS with Windows 7 and earlier versions
If you have a Lenovo device with Windows 7 or the old BIOS, don’t despair because we have a solution for you too.
Let’s find out the steps to follow:
- Go to Start and click on Stop/Shut down to completely shut down the computer.
- Turn it back on and press the F12 key as soon as the Lenovo logo appears on the notebook or PC Desktop startup screen.
If you can’t get into the BIOS, try replacing F12 with the following buttons- F2, Del, Esc, FN + F2 or FN + F12. We want to clarify that the last two key combinations can be effective if the F1 to F12 buttons are colored in yellow or blue.
How to update the Lenovo BIOS
Just like with operating systems, computer BIOSes can also be updated, although this is not a well-known operation. Usually, manufacturers release BIOS updates in order to add compatibility to new hardware devices, to correct errors in previous releases or to solve security problems.
Although updating the BIOS is a very important practice, at the same time it can be very dangerous if it is not done properly. For example, a blackout is enough during the procedure to compromise the functioning of the computer making it unusable. In this case, to update the Lenovo BIOS you first need to find out which company produced the motherboard in your machine.
To do this you need to rely on the free CPU-Z program. This also allows us to find out what the current version of the BIOS is. Once the installation is complete, you can retrieve the information through the Mainboard tab. Once you have downloaded the appropriate software for your PC, you can run a program directly from Windows and follow a guided procedure that allows you to update the BIOS automatically by restarting the system.
Another method to carry out the ‘BIOS update of Lenovo computer is to copy the update files downloaded from the manufacturer on a USB key and restart the computer. When restarting, it may be necessary to manually recall the update file by entering its name and then pressing the Enter key. In the case of UEFI, almost certainly it is necessary to deactivate the Secure Boot function which prevents the startup of systems other than Windows before executing the key containing the update files.
