I am very passionate about the small Raspberry Pi board and in practice, I have tried them all for almost 10 years since its debut, due to the extreme flexibility and potential that adapts to all uses. The processor mounted onboard the Raspberry Pi is capable of real miracles, as well as running Window s, to have a fully-fledged, economical, and also adequately powerful mini PC.
In the past, Windows 10 was installed in the version called IoT Core, and even now with Windows 11 geeks around the world can install a basic version of the latest version of Microsoft’s operating system.
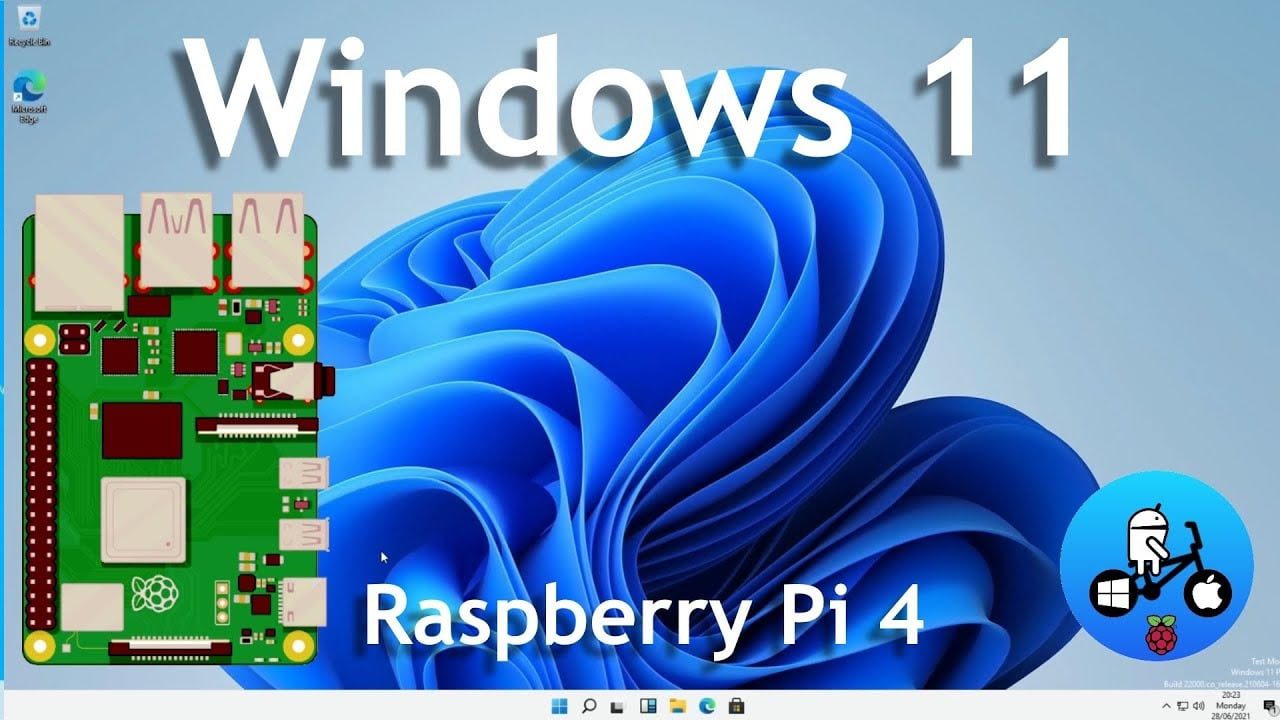
The image is readjusted and at the moment there are many operating problems, such as Wi-Fi and Bluetooth that do not work, and the audio through HDMI does not work. Here in this article, we are going to see how to install Windows 11 on Raspberry Pi 4.
Windows 11 on Raspberry- What do you need?
To install Windows 11 on Raspberry Pi 4, in addition to the basic board, you need an SSD of at least 32GB or a microSD of at least 16GB, USB Boot Enabled on Raspberri Pi OS, PC with Windows 10, USB to Ethernet connector or a Wi-fi (because the integrated Wi-fi does not work) and of course HDMI cable, power supply, mouse and keyboard.
Windows 11 on Raspberry- How to
The first step is to enable the boot from SSD you have to enable the boot by starting Raspberry Pi OS from microSD and type the following commands in sequence once you have booted and opened the terminal. If you are using a microSD you can skip this procedure.
- sudo apt update
- sudo apt full-upgrade
- sudo rpi-update
- RESTART Raspberry
- sudo rpi-eeprom-update -d -a
- RESTART Raspberry
- sudo raspi-config
Now that you can update the bootloader firmware ( Boot Options -> B5 Boot ROM Version -> E1 Lastest… and then select <No> ). Finally, under Boot Order select B1 USB Boot so as to be able to boot the Raspberry from the SSD connected to the USB port.
Now you just have to prepare the SSD or microSD with the Windows 11 on ARM files to proceed with the boot and installation. Here are the steps to follow:
- Search UUP Dump Windows 11 ARM
- Download the latest version available (Now there is this Windows 11 Insider Preview 10.0.22000.65 (co_release) arm64 )
- Select the language and version of Windows 11
- In Download method select Download and Convert ISO and then Create Download Package
- Run the previously downloaded.CMD file to download the Windows 11 ARM ISO image to your PC
- Now with the Windows on Raspberry Imager program
- You can burn the ISO image downloaded earlier by selecting the microSD or SSD connected to your Windows PC
- Now connect the SSD or insert the microSD to the Raspberry and proceed with starting Windows 11.
- Select the Device Manager option -> Raspberry Pi Configuration -> Advanced Configuration -> Move to Disabled under Limit RAM to 3GB and finally in Select Display Configuration select the ideal resolution for your monitor. 720p or 1080p maximum recommended.
Performance isn’t excellent, but as a spare mini PC for office work, watching videos and writing is just fine, even if you forget about high-resolution video playback and gaming.
