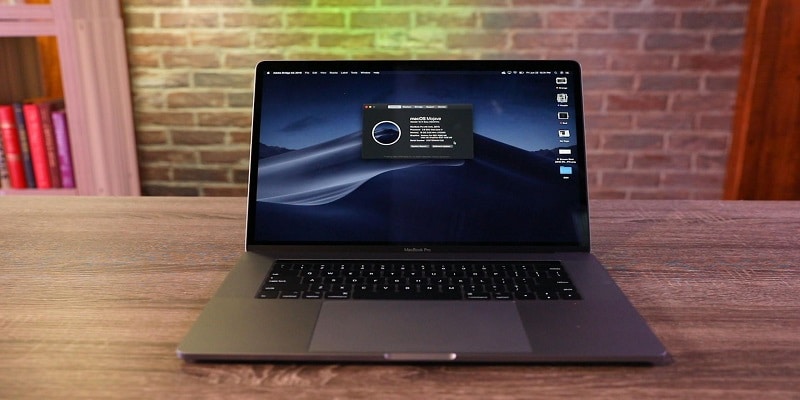
The most recent version of the Mac operating system, macOS 10.14 Mojave, has a pretty and functional UI, so brilliant that you will be pleased with the default options.
But, the macOS wallpaper and more elements of the interface can be modified to what you desire.
In this tutorial, you will learn how to customise macOS Mojave, from easy alterations like switching your background to more advanced features with windows and the Dock.
All these instructions can be reversed and should not hinder your normal running of macOS but ensure your files are saved and run a full Time Machine backup before you begin. This will help you restore your Mac’s default settings anytime you want.
You Might Also Want To Read- How To Get The Best Picture Export From Photos In macOS?
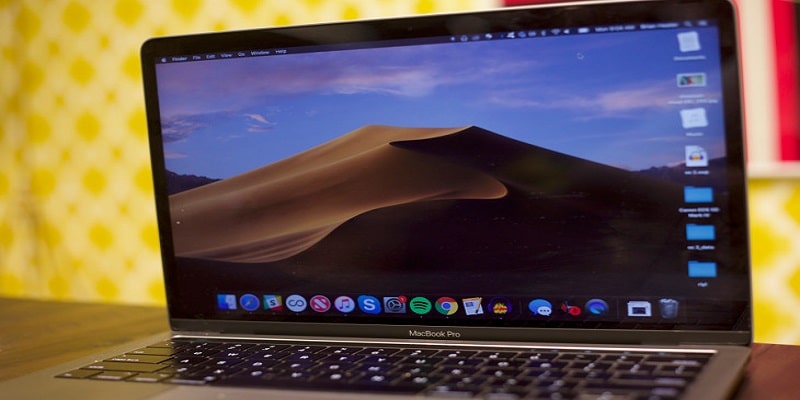
1. Change Your Desktop Background
One of the easiest changes that can be made to macOS Mojave is to switch to another desktop background. You can decide to go for any of the default wallpapers provided by Apple or a pic from your Photo Library.
To begin, right-tap on your desktop and select “Change Desktop Background.” Here, choose one of the “Desktop Pictures” included with Mojave or head to “Folders” on the left-hand side and select “Pictures” to make one of your own personal pictures a background.
If a photo is not designed as a desktop background like for instance, a family picture, it might not be displayed properly. Ensure “Stretch” is checked and macOS will instantly resize it to fit your screen.
2. Tweak Your Doc
If you cherish your space, the Dock can undergo some configuration that will aid it to vanish when you are not using it. Head to System Preferences > Dock and ensure “Automatically hide and show the Dock” is checked.
It is also possible to hover your mouse over the Dock, right-tap and select “Turn Hiding On.” Right here, you can also decide to change the position of your Dock from the bottom of the display to the left or the right.
For additional customization of the dock, right-tap the icon for any program and choose “Keep in Dock”
The order of items can also be rearranged in the Dock by tapping and dragging the program icon left or right. It can even be used to get rid of the default macOS icons like Safari, plus to always reveal icons for your preferred programs such as Mozilla Firefox.
3. Customize The Finder
As soon as you are pleased with the tweaking of the Dock, the finder can be customized to reveal your preferred folders. To begin, tap Finder > Preferences then ensure the checkbox close to any folders you want revealed in the pane like Pictures is ticked.
If you possess any special folder that can be accessed from time to time, get it dragged into the left-hand pane, and Finder will aid the creation of a shortcut you can tap to check it out later.
Make use of “View” to decide on how files and folders will be seen. Select “Show View options” to see particular information on every folder. Tap the radio button next to “Icon size” to make the icons bigger in that folder.
You Might Also Want To Read- How Can I Annotate A PDF On A Mac?
4. Customize Icons
A custom icon for any file or folder can be created using your personal photos, icons you download on the net or the icons from a different folder.
To begin, open the picture you intend to use as icon in Preview. After that, select Edit > Choose All and then Copy.
Access Finder and head to the folder or file who’s icon you intend to change. Right-tap the file/folder and select “Get Info.” Tap the picture of the present icon, then press Cmd + V on your keyboard to paste the fresh one.
Icons can be tagged as well. Head to the folder, right-tap and swipe down to “tags” to select your favorite color.
5. Activate High Contrast Mode
If your eyesight is not that perfect or you desire a more seamless layout to the macOS desktop, it is possible to activate “High Contrast” mode.
This makes your desktop simpler to view and it lets you see things properly. To attempt using this feature, open System Preferences > Accessibility. Swipe to “Display” and increase “Display contrast” as you please.
Boxes like “Increase contrast” “Reduce transparency” or “Use Greyscale” can also be ticked plus the size of your cursor can be increased from here as well.
