How To Migrate Your Windows Installation To A Solid State Drive

Are you tired of waiting every time your computer boots or a program loads? Yes, I know how it feels just staring at your computer screen for some minutes while it takes its time to load. The solution to this problem however, is solid-state drive (SSD).
A solid-state drive is a non-volatile storage device much like your hard-disk drive (HDD), but unlike the HDD, the SDD has no moving parts. Instead of using a spinning mechanism like the hard-disk drive, the SSD uses an interconnection of flash memory chips for storing data just like a flash drive or an SD card. Therefore, making a solid-state drive very fast compared to HDD as well as more durable due to no moving parts available in it.
So the major advantages of the solid-state drive over the traditional hard drive include faster speeds, higher durability, they are lighter thus, making the computing device very portable etc.
Alright, since we are done with all that explanation let’s get into today’s tutorial. In this tutorial I’ll be showing you how you can migrate/clone your Windows 10 OS installation from a hard-disk drive to a solid-state drive.
For the tutorial, we’ll need a free tool called EaseUs Todo Backup. This is a disk imaging software that is used in cloning system drives. It contains a backup feature and is fully compatible with the latest Windows 10 versions.
Before we continue, you need to first download and install the tool.

Follow the steps below to continue
- Step 2: The second step is to launch the tool. When the program is open, click on the “Clone” icon to start the process.

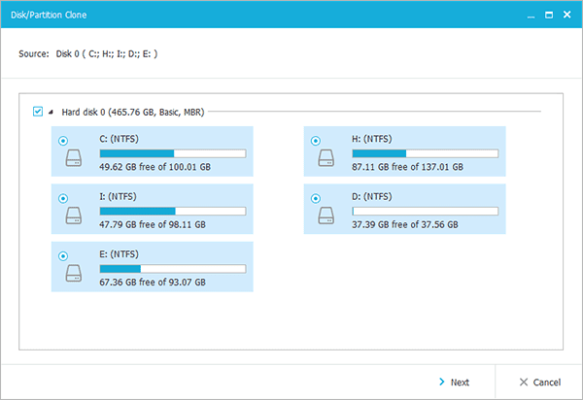
- Step 3: Next, Select the source disk – the disk where your Windows 10 OS is installed – and then click “Next”.
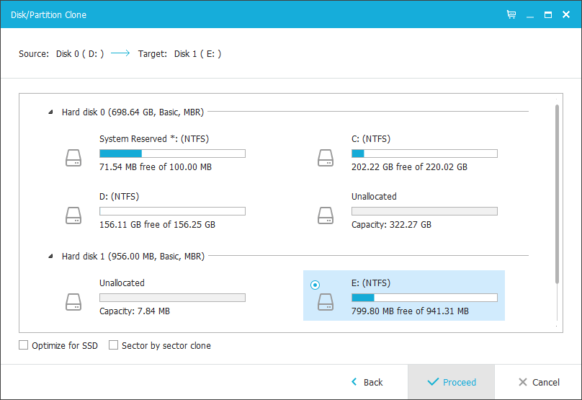
- Step 4: Fourthly, select the destination disk – this should be the solid-state drive. Choose the “Sector by sector clone option” to allow you clone all sectors (sections of the hard-disk drive). Also check “Optimize for SSD”.

- Step 5: Now, you need to preview the disk layout after the cloning. Click “Proceed” to begin the cloning process.

- Step 6: When the process is complete, exit the program and shut down your PC. Remove the HDD and replace with the SSD.
- Step 7: Finally, restart your PC to start enjoying your new faster and more durable system drive.
Final words
And that’s it! You can also use this process you can migrate your Windows 10 installation to another HDD like in a previous tutorial I did.
Note- Be sure to back up the data on your HDD before the process to prevent loss of data.
If you enjoyed this tutorial, please use any of the share buttons below- and for your questions and suggestions I’ll be happy to have them.
Thanks
