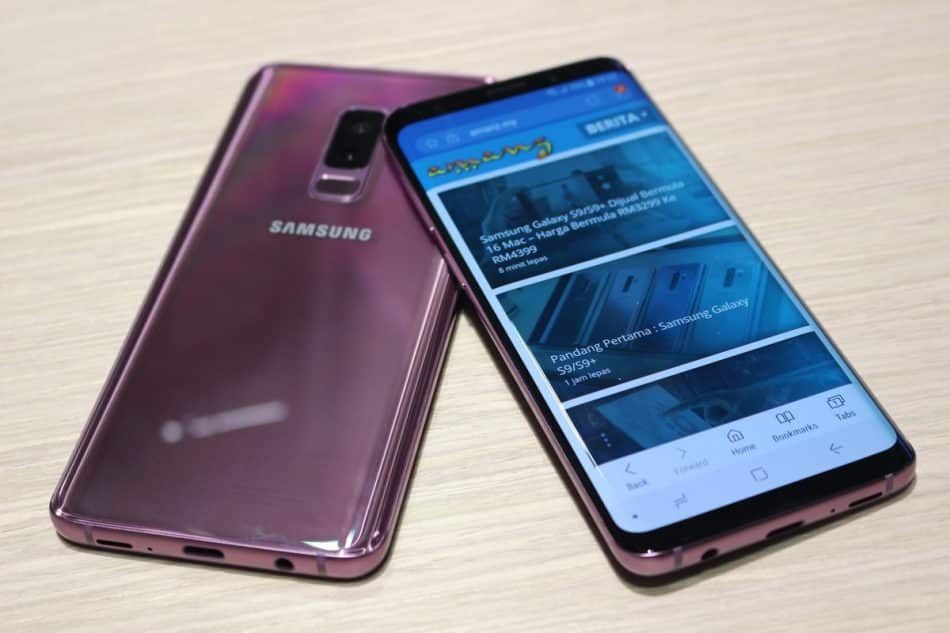
The Samsung Galaxy S9 and S9 Plus are the best phones of 2018 without any doubt. The Korean giant rightly boasts of the camera with its options on the Galaxy S9/S9 +, the camera offers an extraordinary user experience, it is simply fantastic.
This duo will surely help people forget the two flagships released last year, the Galaxy S8 and the Galaxy S8 Plus. So far, the reviews suggest that Samsung did a great job. If you want to know some new features of the Galaxy S9 and Galaxy S9 + read the article below.
Although they are the best devices of 2018, they too have not been spared by the following error- Not registered on the network! If you like you can read a generic guide that helps you solve this error, which for the most part is only seen on Samsung devices.
Or keep reading below, with some specific tips for the Galaxy S9 and the Galaxy S9 Plus. This error is very common on Android phones. You’re here because your phone showed you this error and you were looking for a solution.
Well, you’re in the right place and following our guide to Galaxy S9 not registered on the net how to solve you will be able to overcome this error. (90%)
We have put together a list of possible fixes that will solve the problem of the Galaxy S9 not registered on the network. No service on Galaxy S9/S9 + or Galaxy S9/S9 + not registered on the network are almost the same problems. By trying our corrections, you will be able to solve this problem.
How to resolve Galaxy S9 not registered on the network or network error
Fix 1 – Galaxy S9 not registered on the network
First, try resetting your network settings. This action restores the network and mobile data settings. To do this, go to Settings >> Device Information >> Restore.
Here tap on Restore network settings and then tap the Reset settings button.
A warning will then be shown “This action cannot be canceled”. If you are sure to perform this action, tap Reset Settings again. Restore network settings. When finished, reboot the device and check if the Galaxy S9 error not registered on the network on how to solve has been resolved.
Fix2 – Galaxy S9 not registered on the network
A badly inserted SIM card is quite common nowadays and this translates into No service or unregistered on a network error. Make sure the SIM Card is inserted correctly in the tray if you have a very old SIM Card try replacing it with a new one. Once you are sure that the SIM card is inserted perfectly, restart the phone and check if the error has disappeared.
Fix3 – Galaxy S9 + not registered on the network
Many devices are released with limitations from the operator. Therefore, we recommend that you try the SIM card of another provider. If this procedure resolves the error not registered on the network, it means that it is not possible to use the SIM card of the current operator. It may require the installation of a non-brand firmware.
Fix4 – Galaxy S9 Plus not registered on the network
Just go to Settings >> Connections >> Mobile Networks >> Network Mode, here Change the network mode to LTE/3G/2G (automatic connection). Restart the phone and check if the error has been corrected.
Fix5 – Galaxy S9 not registered on the network
- Go to the Settings section on your Galaxy S9. Then, on the option “mobile networks” and “SIM cards“.
- If you do not find the “cellular networks” option, then go to the “More settings” section.
- Then, go to the “mobile networks” option.
- Then on “Network Operators“.
- After completing the search, select your appropriate mobile operator.
- The mobile operator is to choose the company of the SIM card services, such as Vodafone, Tim, Wind, etc.
Make sure the SIM card has been cut correctly. Once you have made sure of this, insert the SIM in the tray or slot and make sure you have it properly inserted into the phone. Restart the device again and check if the error has been resolved.
You can try a friend’s or relative’s SIM to see if it’s an operator error or a problem with your SIM. If you still get the error you just need to take the phone to a service center!

