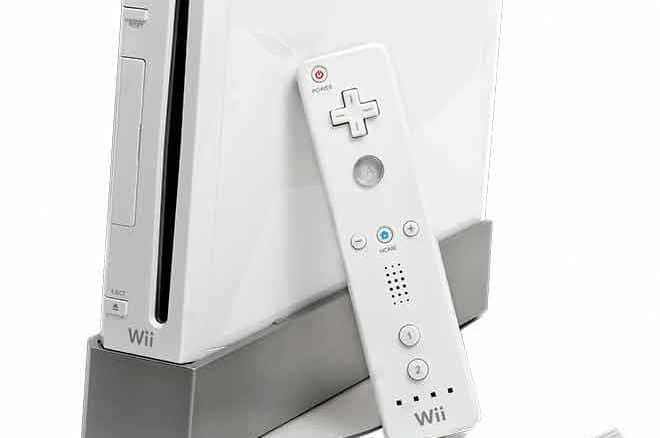
Are you interested in how to format WBFS? We will tell you how to do it in this simple guide. WBFS is a file system designed for modified Wii. More precisely, it is the file system with which, until a few years ago, all USB devices and hard drives used to load games on Nintendo’s home consoles were formatted.
Now, thanks to the advanced age of the first Wii and the evolution of the homebrew world, it has fallen into disuse. The classic FAT32 file system is preferred, which makes the units usable not only on the Japanese console but also on PCs, tablets, and other devices. However, knowing how to format WBFS can still be helpful.
This is why today I want to focus on this topic and introduce a free application that allows you to do a little bit of everything- format drives in WBFS or FAT32, manage backups of Wii games, and much more.
How to format WBFS
The software I want to talk about is called Wii Backup Manager and does not require any type of installation to work. To download it to your PC, all you have to do is connect to its official website and click on the first link on the page (for example, Wii Backup Manager Build 78).
Then click on the Download element (in the middle of the page), wait for the countdown to end, and click on the Next button that appears at the top right.
Once the download is complete, open the Wii Backup Manager zip package (for example WiiBackupManager_Build78.zip ) and extract the contents to any folder.
Then insert the USB stick or hard drive to format in WBFS on the PC and run the executable WiiBackupManager_Win64.exe. If you get an error message it means that you are using a 32-bit system, then start the WiiBackupManager_Win32.exe executable instead of the 64-bit one.
In the window that opens, to format the USB memory or a hard disk with the WBFS file system you have to access the Tools menu
Wii Backup Manager and select the format units. Next, you need to select the volume you want to format from the Drive drop-down menu, the option in the WBFS file system menu, and press start to start formatting.
Careful! Formatting a drive in WBFS completely removes its contents, so make sure there are no important files on the drive before continuing.
Also, be sure to choose the correct drive letter from the drop-down menu
Help from the Wii Backup Manager drop-down menu. You can check the drive letter of the formatted flash drive or hard drive by opening My PC. After preparing the drive to accommodate files for Wii, you can transfer software and games using Wii Backup Manager. All you have to do is go to the app tab
File, select File from the Add Menu menu, and select the game or software files to copy to the volume. After importing, set a checkmark next to the file names to be transferred to the memory card or hard drive you have just formatted and select Voice Transfer > [drive name] from the menu located on the top.
That’s all! Now you know how to format WBFS and how to store Wii software and games on your USB devices. This is a very simple operation, but as mentioned above, it can also be performed by formatting the drives in FAT32. you can format a FAT32 volume with Wii Backup Manager (following the same procedure as before and selecting FAT32 instead of WBFS in the drop-down menu of the file system) or in Windows by right-clicking on the My Computer drive and selecting Format item from the menu that opens.

