Rooting Infinix Zero 2 x509 is pretty easy and you don’t even need a PC to get it done. All that’s needed is the required APK file and you should be done in less than 3 minutes.
By going through this article and following the guide herein, I am convinced that you know exactly what you’re doing and why you’re doing it. If rooting sounds new to you and you’re wondering what it means, why you should do it and what the benefits are, I suggest you should continue reading.
Rooting according to wikipedia, is the process of allowing users of smartphones, tablets and other devices running the Android mobile operating system to attain privileged control (known as root access) over various Android’s subsystems. As Android uses the Linux kernel, rooting an Android device gives similar access to administrative permissions as on Linux or any other Unix-like operating system such as FreeBSD or OS X.
Disclaimer – Please note that TechVaz won’t be responsible if your device gets bricked in the process of rooting. You should also be aware that rooting your Infinix device may void the 12-month warranty given to your Infinix smartphone.
Steps to Root your Infinix Zero 2
- First, Download and install Kingroot from the official site or through this direct download link.
- Secondly, install the app on your device.
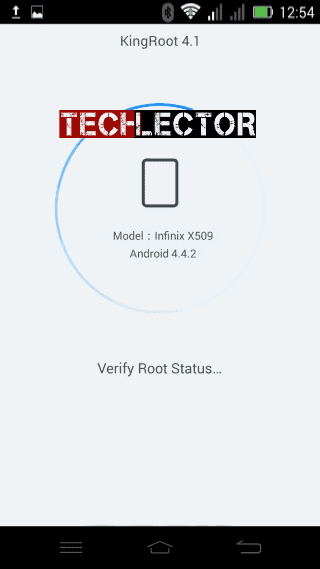
- Ensure you have an internet connection on your device. Because it will first verify your root status as seen in the image below.
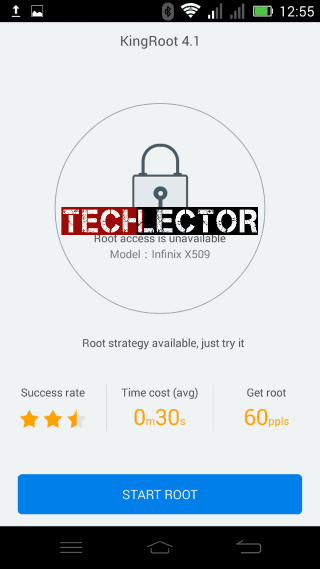
- Wait for all checks to be complete. If completed, your root status will be shown as this:
- Click on the blue “START ROOT” button below the screen to begin rooting.
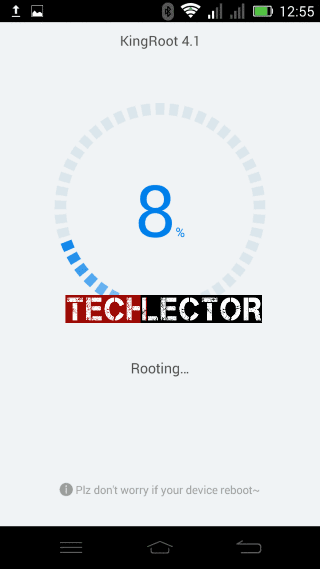
- The rooting process should start and you should see something like this.
- Wait for rooting to complete.
Note: Be aware that your phone may restart during the process of rooting.
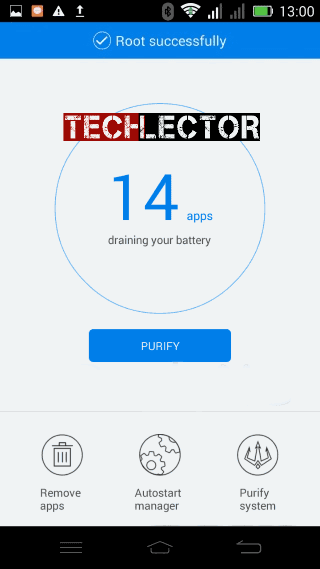
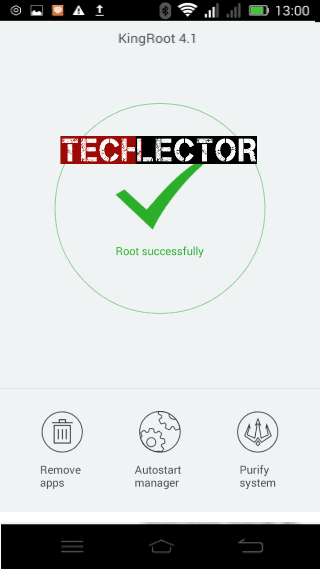
- You should see a blue tick reading Root Successful at the top of the screen to confirm that rooting was successful.
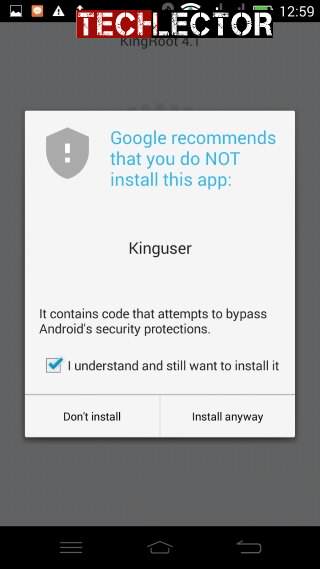
- Immediately after your Infinix Zero 2 reboots, the rooting process will continue automatically. At this point, you may be prompt to install Kinguser. (Ignore the warning, mark the checkbox and tap “Install anyway”).
- Reboot your device and check for root access. (To verify if your device is successfully rooted download and install Android Root Checker )
- If the root was a success, it should show you this:
HAPPY USAGE!
Where to Buy Infinix Zero 2
| AVAILABLE STORE | FEATURED OFFER | PURCHASE |
|
|
Infinix Zero 2 X509 16GB[BUY NOW!] | |
|
|
Infinix Zero 2 X509 32GB [BUY NOW!] |
|
|
|
Infinix Zero 2 X509 32GB Black from Konga[BUY NOW!] | |
|
|
Infinix Zero 2 X509 16GB Black from Konga[BUY NOW!] | |
|
|
Infinix Zero 2 X509 16GB Red from Konga[BUY NOW!] |
We ♥ Comments
Do you have anything to add to this article? Please do not hesitate to share it in our comment box below…↓
Join us on Facebook or Twitter now to get first hand updates from us !!!

Root wiko slide 2
will the root help uninstall system updates?
nope. it gives unlimited access to the phone
Will the phone be factory restored after rooting?
nope, it wont reset anything on it
I will like to know more about advantages & disadvantages of Rooting my Phone
& why necessary for Android Phones
Yust working on os kitkat
Just*
Not working on Infinix Zero 2 With Lolipop..event using Kingroot V4.2
Make sure you have data enabled on your device first