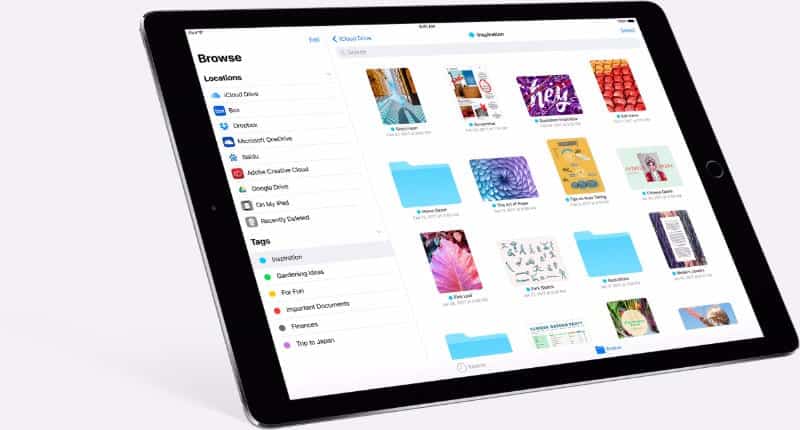
Dropbox has been around for a while now, and it is a great tool for saving and sharing files. It also comes with some essential features like doc scanner, offline access and shared folders. Packed with these cool and very helpful features, this file hosting service sure is a must have. With the extent to which this service is beneficial, I have added Dropbox to the Files app on my iPhone and iPad which are both running on iOS 11. With that, I can easily access all of my documents and make changes to them and share the right from the native file manager on my iOS device.
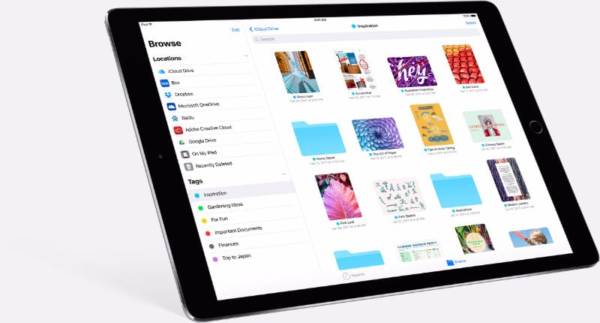
If you are also a loyal user of this amazing file hosting cloud service, you may also want to add the service to your file manager so that you can take control of your documents more efficiently. You should also be aware that this process applies to all the file hosting apps which are supported. So let us find out how to do this!
How To Add Dropbox to Files App on iPhone and iPad Running iOS 11
Note – Before you proceed, make sure that you have already installed Dropbox, created an account and have signed into the account. It will also be easier if your iOS is updated to the latest version (iOS 11).
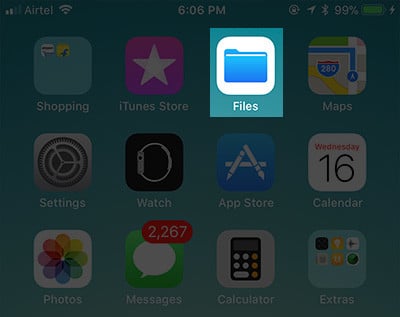
- Turn on your iPhone or iPad and open the “Files app” from your app drawer menu.

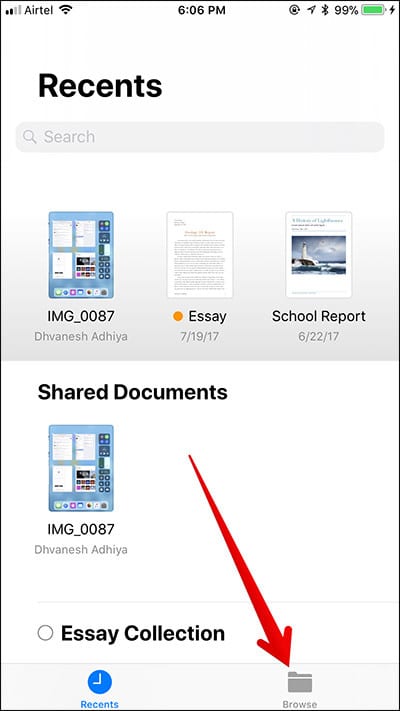
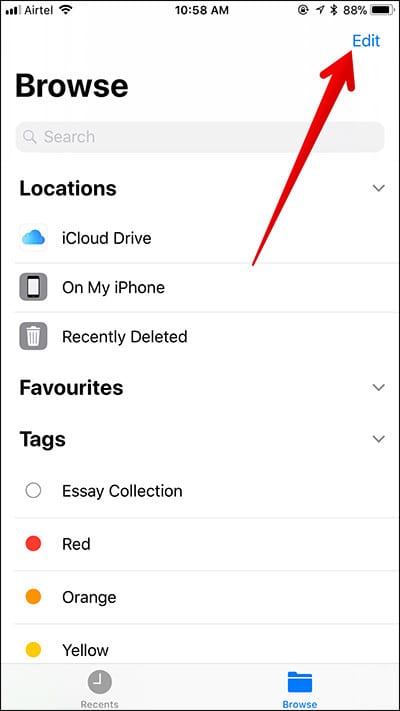
- Next, go to the bottom of the screen and tap on the “Browse” tab.

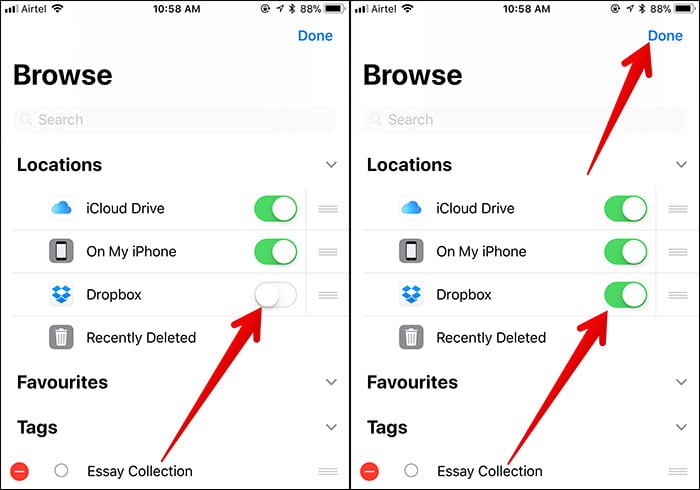
- Next up, tap on Edit which is at the upper right corner of your iPhone or iPad’s screen.
- Now, turn on the switch which is right next to “Dropbox” by toggling it.

- Next, tap on “Done” which is at the top right corner of your iPhone or iPad’s screen.

In case you want to change the locations of the docs, tap and hold the tiny horizontal lines beside the doc’s name and drag it to the location you want.
How To Remove Dropbox from Files App in iOS 11
If you are tired of the file hosting cloud service or you do not want to use it in the Files app anymore for any other reason, you can easily remove. To do this, follow the simple steps below.
Note that you can use the steps below for any other cloud service on from the file manager app on your iPhone or iPad.
- Go to the iPhone’s home.
- Next, Go to the Files app and tap on its icon to open it.
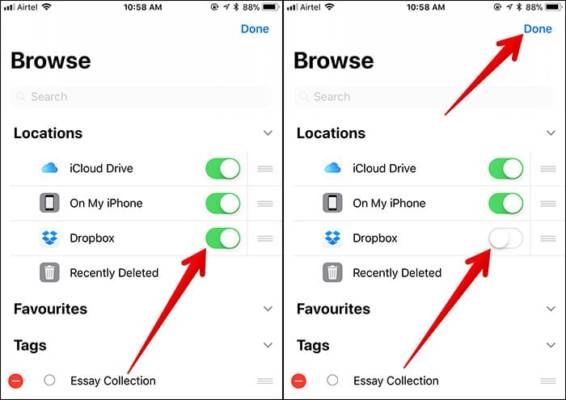
- Now, Go to the Browse tab and tap on Edit.
- Next up, turn off the switch right next to Dropbox.
- Finally, tap on “Done” which is at the top right corner of your iPhone or iPad screen to confirm.

I love the Files app, and I appreciate that a file manager app was finally introduced to iOS. With the app, handling files and document s on your iPhone or iPad has become a whole lot easier.What do you guys think of it? Make sure to comment your views too. Also, if you have any problem while following the steps above, be sure to place your comment below, we are ever ready to help.
