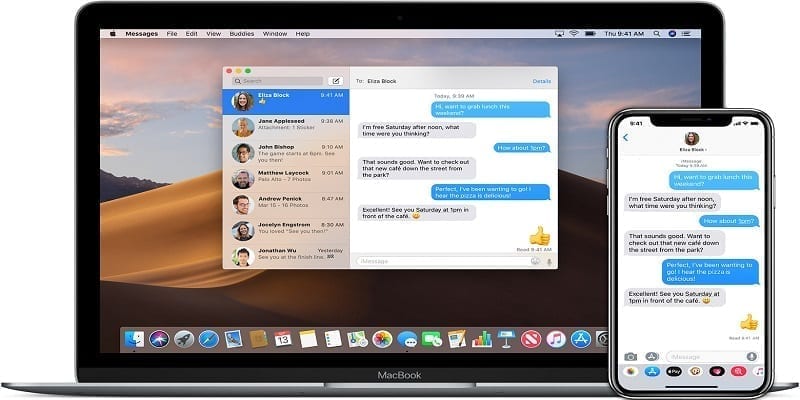
When you receive iMessages on your Mac computer, you can boost your workflow, and relate with anyone trying to reach out to you, even if your iPhone is somewhere far from you.
It is possible to add your phone number to your iMessage account and enable it seamlessly on your Mac to begin to receive messages immediately.
Let’s jump right into it.
You Might Also Want To Read- How Not To Let Mac Go Into Standby
How Can I Add A Phone Number To iMessage On A Mac Using iPhone Settings?
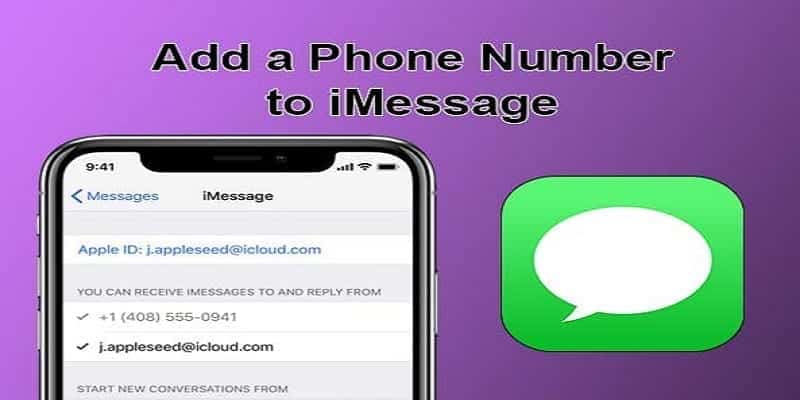
- Before anything else, head to Settings > Messages > Send & Receive.
- If you are yet to get yourself signed in with your Apple ID, do that by clicking “Use your Apple ID for iMessage.”
- Immediately you are signed in, locate a section titled “You can receive iMessages to and reply from” and be certain that your phone number is chosen. If it was selected, you will see it ticked.
- If your Mac has signed in with your Apple ID, a pop-up might be visible on the screen wanting to know if you want to add your phone number to iMessage and FaceTime. If that is what you want, tap yes. As soon as you add your phone number, you will be able to enable iMessage on your Mac.
How Can I Add My Phone Number On A Mac?
- When you are have added your phone number for iMessage on your iPhone, access Messages on your Mac, which will be seen below “Applications.”
- Immediately you open Messages and sign in with your Apple ID, head to Messages > Preferences.
- Within “Preferences,” choose “iMessage,” which resembles an “@” sign.
- To make iMessages available on your Mac, ensure your phone number is chosen under “You can be reached for messages at:”
You Might Also Want To Read- How To Uninstall Apps On A Mac Computer?
How Can I Get Rid Of My Phone Number From An iPhone And Mac?
- To get rid of the phone number for iPhone from other devices it may be linked to, on your iPhone head to Settings > Messages > Send & Receive. Click where you can view your Apple ID. In the pop-up window that becomes visible, click “Sign Out.”
- On Mac, open Messages. After that, tap Messages > Preferences > iMessage. Under “You can be reached for messages at:” ensure your phone number is deselected.


