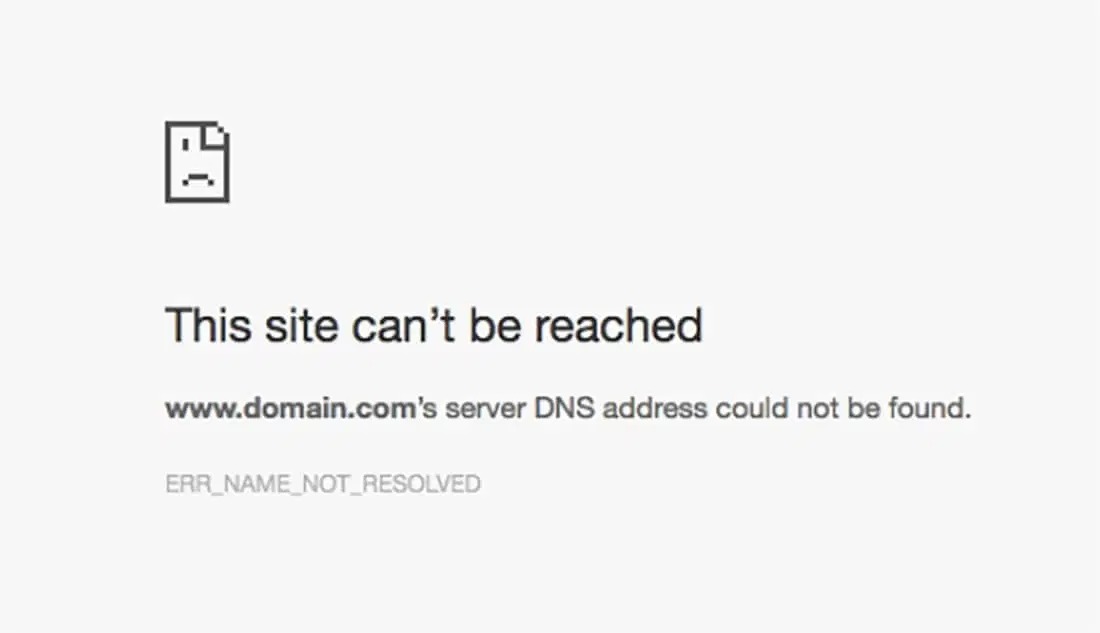
There are few things more frustrating than wanting to check football scores or the latest movie review and see the ERR_NAME_NOT_RESOLVED error pop up in your browser. Chances are you’re using Chrome if you see those words. Edge and Firefox say different things. Regardless of the syntax, the frustration is always the same.
The ERR_NAME_NOT_RESOLVED error refers to an error in your computer’s DNS configuration or a typo in the way you typed the URL. The latter is simple to fix, but the former requires a little more work.
As with any network error, the first steps are simple. Check your internet connection, check a different website, use a different browser, restart your computer and router and try again. If that doesn’t fix the error, one of these steps will definitely fix the “ERR_NAME_NOT_RESOLVED” error.
1. Clear the DNS settings on your computer
- Open Command Prompt as Administrator.
- Type ipconfig/flushdns and press Enter.
- Type ipconfig/renew and hit Enter.
- Type ipconfig/registerdns and press Enter.
- Repeat the test using the same browser and URL.
This process will clear the DNS cache, forcing Windows and your browser to reload DNS again. The method fixes most of the ERR_NAME_NOT_RESOLVED errors, but if you still see it, try the following procedure.
2. Manually configure your DNS servers
- Open Control Panel and go to Network and Internet.
- Skip connections Center of Network and Sharing Center and select Change adapter settings in the left pane.
- Right-click the network adapter and select Properties.
- Highlight Internet Protocol Version 4 and click the Properties button in the window.
- Select “Use the following DNS…” and add 8.8.8.8 and 8.8.4.4 in the spaces. Click OK. These two servers are Google’s DNS servers and they are very, very fast and accurate.
- Repeat the test using the same browser and URL.
3. Change your modem’s DNS settings
If you’re using a modem, you may also need to change your DNS server settings there. Some cable companies specify the DNS server used in the modem configuration, which can override the Windows settings.
If nothing changes after making these changes, it might be worth checking your modem.
Eventually, one of these steps will definitely fix the ERR_NAME_NOT_RESOLVED errors. In most cases, clearing DNS via the command prompt and forcing a reload of the configuration is sufficient to fix the DNS error. If not, the other two processes will surely do it.
4. Disable DNS preloading in Chrome
- Press the Menu button in the upper right corner and select Settings.
- When the Settings window opens, scroll down and click the Advanced button.
- Scroll down to the Privacy section and uncheck Use a forecasting service to load pages faster.
- After deselecting the option, restart Chrome.
5. Clear Chrome’s DNS cache
- Open a new tab in Chrome and type chrome://net-internals/#dns as the address.
- Now click ” Clear Host Cache ” and restart Chrome.
6. To update the drivers
This problem can sometimes occur if the driver for your network card is out of date, so we recommend that you update the drivers. You can use the CD that came with the device or download the necessary drivers from the network card manufacturer’s website.
If you cannot access the Internet using your PC, you need to use another device to download the necessary drivers.
7. Install the latest updates
- Click the menu icon in the upper right corner.
- From the menu, select Help> About Google Chrome.
- Chrome now looks for available updates in the new tab. If updates are available, they are automatically downloaded and installed in the background.
If updates are installed, restart Chrome and check if the problem persists.
10. Disable all extensions
- Click on the menu icon in the upper right corner and go to “More tools” > “Extensions”.
- Find the extension you want to disable and click the little button next to it. Repeat this step for all available extensions.
- After disabling all extensions, restart Chrome.
When Chrome starts, check if there is still the problem. If not, the problem must have been caused by an extension.
To resolve this issue, enable all disabled extensions one at a time until the issue recurs. Once you find the application that is causing the problem, remove it and the problem will be permanently solved.
Conclusion
That’s all! Now that you’ve tried our solutions to fix the ERR_NAME_NOT_RESOLVED error, you can try reopening the site in Chrome and see if it opens. If not, restart your computer.
We hope that one of these methods has solved the problem and fixed the “ERR_NAME_NOT_RESOLVED” error in Google Chrome on Windows 10.
