If you really adore using your iPad and want to use it as a secondary display with your Mac, there are a few options you can follow. Let’s get right into How To Use Your iPad As A Secondary Mac Display:
1. Screens
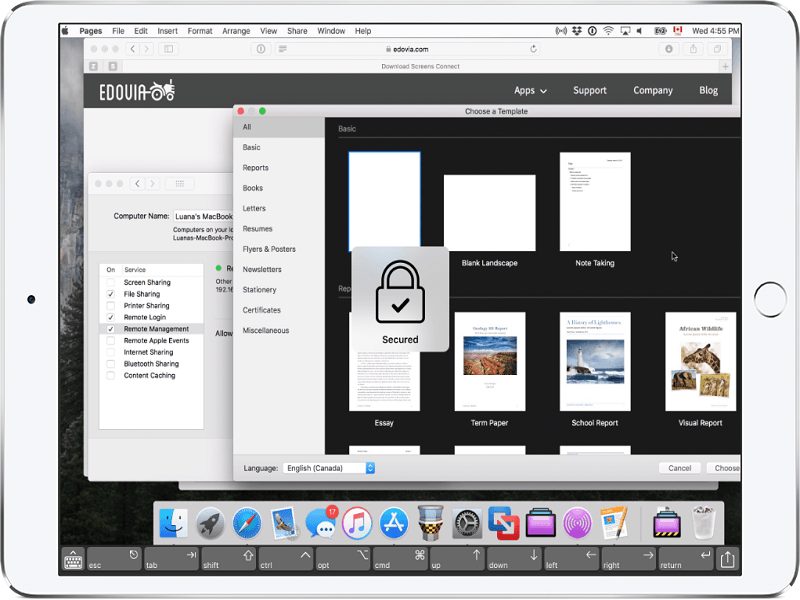 This is an app on the iOS App Store and it works according to our expectations. Ensure you download the iOS app on your iPad or iPhone and the companion app on the Mac. The iPad makes use of your main displays aspect ratio which means you should get ready for letterboxing. Looking at the bottom, there are lots of shortcuts to everyday Mac tools like Spotlight or common Mac keyboard buttons such as Option, Control and Command. All this come in handy if you do not have a keyboard connected to your iPad.
For setup:
- Ensure Screens is running on your Mac and iPad and that the two devices are connected to one Wi-Fi network.
- On your iPad, click on the “+” button at the top right to include a new computer.
Click on your Mac’s name. - You’ll be required to fill out some more advanced settings. It can be skipped and be revisited later.
- Click “Done.”
Screens is pretty decent for some simple navigation and task. It works brilliantly with a minimum of 2 Macs, it is wireless, and can function away from home. One disadvantage to the app is that the resolution is useable but should not be an option for any kind of photo or video editing/viewing. It works more like peaking into your Mac instead of being the main secondary display to your Mac.
2. Luna Display
It costs more than Screens, but a far more developed solution. Luna would need an adapter that attaches to your Mac. The company in charge of production makes USB-C and Mini DisplayPort versions. Thankfully, the companion for iPad and Mac are absolutely free. Setup might take longer than usual as it will try to run any firmware updates once you try to launch it. Immediately after, you’ll need to unite the Mac app with the iPad app.
To get that done:
- Connect the Luna Display dongle to your Mac. Ensure both your iPad and Mac are connected to one Wi-Fi network.
- Open the app on your Mac and follow the automated setup.
- Repeat the process for all iPad you’d like to team up with Luna Display.
Some of the benefits that come with Luna Display is its amazing performance and resolution. The company with a secondary app, Astropad, allows you to let your iPad function as a sketching device for your Mac. That should cost you something though. One disadvantage you should expect is that if you aim to use iPad to
replicate display and you are far away from your Mac, you will not hear any audio coming out from your iPad. You’ll have to resort to Airplay or Bluetooth headphones or speakers to proffer a solution. Luna Display functions as a subordinate display and be used as one.
Remember that both Luna Display and Screens can work perfectly with a wire over a USB connection.
