
How to Use Polls in Instagram Stories on iPhone and iPad
Unsure about a particular decision? Want your Instagram followers to help you out? Well, thanks to the new Polls feature on Instagram, you pretty much have a solution. With the Polls feature in Instagram Stories, you can now create polls asking your friends to vote on something on Instagram.
Instagram now lets you create polls to help you make decisions. Just like your Instagram Stories, the poll and its results disappear after 24 hours. The best part is that you can do this right from your iOS device!
How to Use Polls in Instagram Stories on iPhone and iPad
How to Add Poll to Instagram Story on iPhone and iPad
- First off, open the Instagram app on your iPhone or iPad.
- Next, you can either tap on the camera icon at the top left corner of the app or you can also swipe from the left to right to make the camera appear on the screen.

- After that, take a picture or a video. You can take a picture by tapping on the shutter button or also take a photo by tapping and holding the shutter button for as long as you want to take the video.If you wish to switch between the front and rear cameras of your iPhone, simply tap on the two tiny arrows on the screen. However, if you wish to pick a photo or video which you have already taken, tap on the icon at the bottom left corner of your screen. Here, you can pick photos and videos already saved in the Photos app on your iPhone or iPad.
- When you are done, tap on the emoji icon at the top of your screen. Alternatively, you can swipe up from the bottom of your screen.
- Tap on the Poll button.
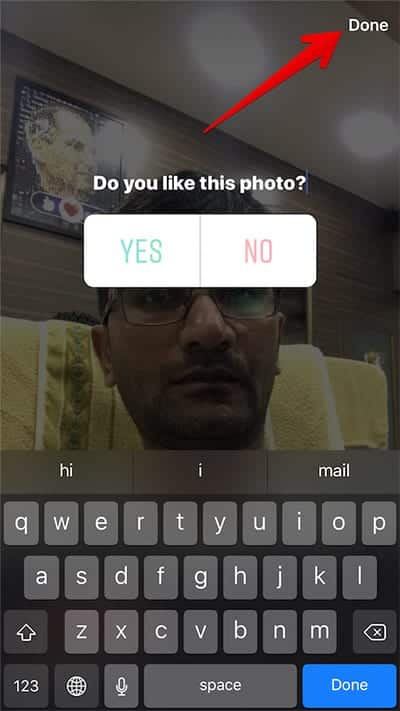
- Here, you need to type out the question you wish to accompany the poll. Make sure to type out your question carefully and also check it again when you are done.
- Now, customize the answers you want the poll to have. Currently, Instagram gives you the option to define only two possible answers for your poll.
- You can also use the creative tools there to customize the poll. You have different tools like colour picker for text and brushes and also alignment tool for stickers and text to make your poll look decent.
- After you have selected a colour you want to use for your text and drawing tool, you will see a new eyedropper icon on the left side of your screen. You can then use it to pick any colour from the photo or video you want to use and apply it to your text and drawing tool.
- When you position text or a sticker on your photo or video, you will see new blue lines which allow you to keep it in the centre.
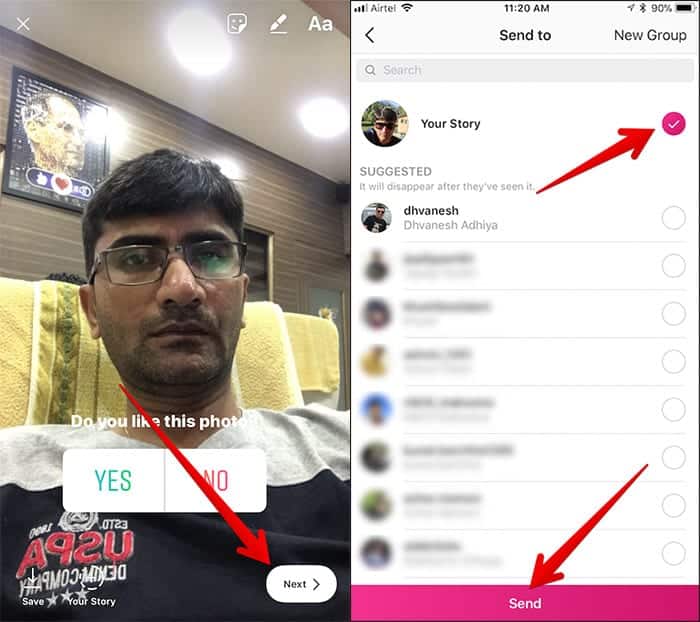
- After all that is set, tap on the “Done” button, select your story and then tap on “Send – to publish the poll on Instagram.


So that is all!
When you have published the poll, your Instagram followers will see the poll in their Instagram Stories and they can now vote by tapping either of the options attached to the poll. They will also be able to see the results as they vote. This means as they vote, they can also see which option is winning.
How to See Poll Results in Instagram on iPhone and iPad
If you want to check the results of the Poll you published on Instagram, follow the steps below.
- First off, open the Instagram app on your iPhone or iPad.
- Go to your profile by tapping on the profile icon at the top left corner of the screen.
- Now, tap on the poll you published.
- Scroll down the story to check the viewers’ list and also the results of the votes. You can also check who voted and whatever they chose.
So what do you guys think about this new feature on Instagram? Cool or trash? Let us know in the comment section below.

Nice work from admin.thanks for sharing.