If you participate in a lot of video meetings, they can start to feel dull and repetitive. Well, their lots of tools on Zoom, such as virtual backgrounds, to turn that around. However, if you are looking for more, you can use AR facial effects to change your appearance.
Apart from the virtual backgrounds feature, which you can use on the Windows, Mac, and Android versions of Zoom, you can also use “Studio Effects” to edit the appearance of your eyebrows, facial hair, and lips.
How to Edit Your Appearance in Zoom Meetings Using 3D Facial Effects
First off, you need to update the Zoom version on your Mac or Windows PC to the latest available version.
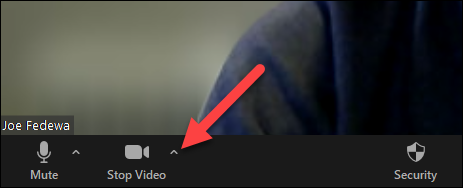
Next, launch Zoom on your Windows or Mac computer, and then click the tiny arrow right beside the “Stop Video” button. A menu will pop up on the screen.
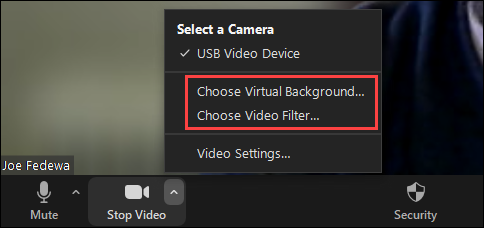
From the pop-up, click either the “Choose Virtual Background” or “Choose Video Filter” option. Both of them lead to the same screen.
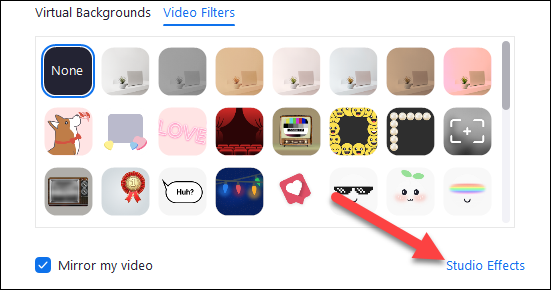
Now, virtual backgrounds and video filters will be displayed on the screen. Click the “Studio Effects” button. You can find it in the bottom right corner of the window. Also, it may be labeled as a “Beta feature.” The first time you click the Studio Effects button, you will be prompted to download some additional files and install them as well.
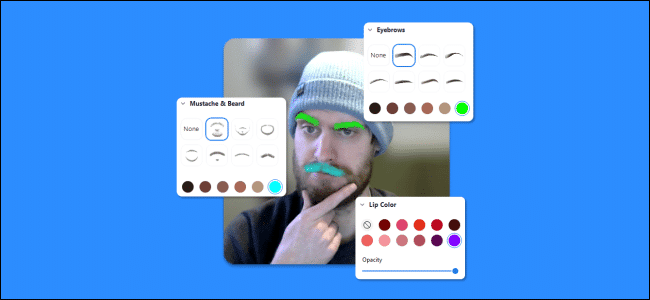
Under Studio Effects, there are three sections- “Eyebrows,” “Mustache & Beard,” and “Lip Color.” If you click any of the options, the effects will be applied to your face immediately.
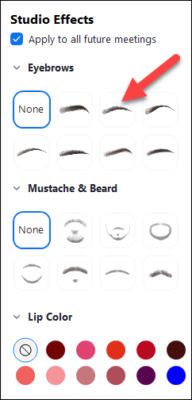
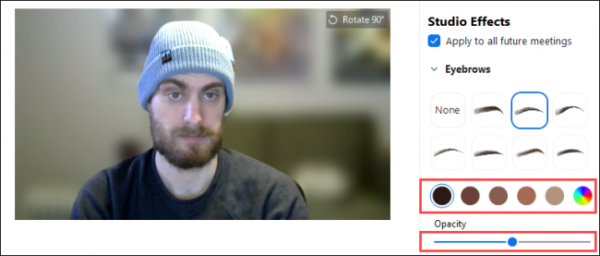
If you click the eyebrows or facial hair effects, you will notice color options appear right below them. You can select any of the colors to apply it instantly. You can also use the custom wheel to select a custom color. There is also an option for you to adjust how transparent the effect is.
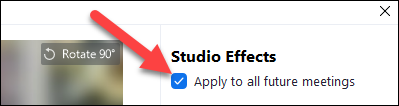
You can make any of the facial effects you have selected automatically appear in all of your meetings. To do this, select the box next to the “Apply to All Future Meetings” option.
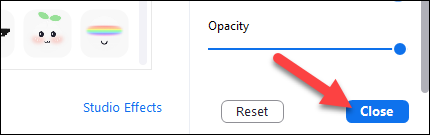
After you have selected the options you are satisfied with, select “Close.”
You should note that you will be able to see your video’s facial effects in real-time as you are customizing them.
That’s all! Have fun customizing your face!
