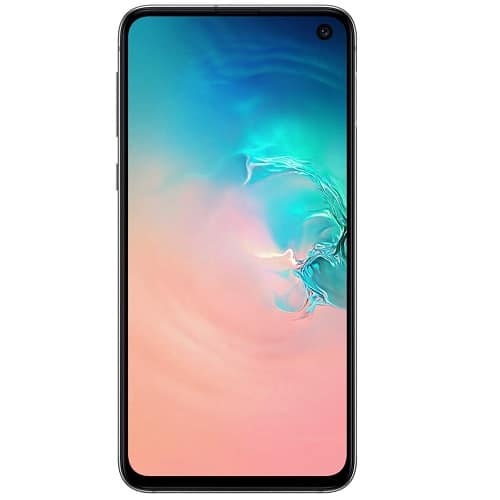
Well, I have seen many cases where the MMS didn’t work, although this occurs in really rear cases. This can actually be frustrating. If your Samsung Galaxy S10 can’t accept MMS, then this little piece is just for you.
Page Contents:
How to fix can’t receive MMS issue on your Galaxy S10
If your Samsung Galaxy S10 has an issue with texts or unable to receive MMS, there’s a number of troubleshooting procedures that you must do to fix this.
1- Ensure your mobile data is ON
If your Samsung Galaxy S10 can’t accept MMS, the first thing that you should check is to make sure that your mobile data is on. MMS, unlike normal texts or SMS, actually requires cellular data to be able to work effectively. If you are on a restricted mobile data subscription and your MMS stops working, it’s actually due to the mobile data being suspended. Go and check with your carrier to ensure this. Unless clearly stated by your carrier, you should also know that MMS does not work with wi-fi
2- Reset network settings
If MMS was actually working before, it’s likely that there may be some issues in the network settings that have changed. To make sure that all network settings are in the right place, the second process is to reset the settings. This will help to reset all data connections back to defaults. The following changes will take place by performing a Reset.
- Paired Bluetooth phones will be erased.
- Stored Wi-Fi networks will be erased.
- Background data sync settings will be switched on.
To carry out a Network reset, follow these steps.
- Click and open the Settings application.
- Tap General management.
- After that Tap Reset.
- Then Tap Reset Network Settings.
- Now go ahead and Tap RESET SETTINGS button.
3- Delete all old conversations
You need to go and delete all received and sent items that are stored in the same dedicated storage space in your application. If you frequently receive or send messages with attachments, it’s likely that your messaging application may have run out of storage space. Make sure to delete some of your messages, or those with many attachments to fix the problem. Remove as many as possible to make sure that there’s more than enough storage space to contain incoming texts or MMS. After you must have deleted them, then restart the device and see what happens.
4- Verify APN
If you are not certain whether the APN settings are accurate or not, you can check the APN settings by doing the steps below:
- Open Settings application.
- Press Connections.
- Then Tap Mobile Networks.
- Afterward, move ahead to Access Point Names.
- Choose the correct APN.
- Configure values as required.
Ensure to get the correct APN from your carrier.

