How to Hide Purchased Apps on Mac – Keep Your Personal Items Secret
Do you wish to hide purchased apps on your Mac – maybe to hide them from your brother who has developed an endless passion for going through all of your stuff? Well doing this is very easy. Just as it can be done on iOS, you can also hide or unhide purchases in Mac App store on your Mac.
You should note that if you hide a purchased app on your Mac, you will stop receiving update notifications for the app. If you are using Family Sharing, the app will be kept under the wraps from your family members too. So, you wish to hide a purchased app on your Mac, continue reading the guide below.
How to Hide Purchased Apps on Mac
- First off, open the App Store on your Mac.
- Next, you need to make sure that you are signed in. If you aren’t already signed in, tap on Store. Next, sign in from the menu at the top of your computer screen. Type in your Apple ID and Password and the proceed.
- Next up, you need to click on the Purchased tab at the top of the window.
- Note – You may be required to authenticate by entering your Apple ID password.
- Note – You may be required to authenticate by entering your Apple ID password.
- Now, a list of all apps you have purchased on your Mac should appear on the screen.
- Find the app you want to hide.
- Next, right-click or control-click. From the menu, click on “Hide Purchase.”
- Now, you should see a confirmation message. On the box, click on Hide Purchase.
That is all! With these few steps, you have successfully hidden the app from others on your Mac. The app will no longer be displayed alongside other apps in your purchased list.
If you change your mind later on and want to unhide the app, you can easily do this in a few steps. Read on to learn more.
How to Unhide Purchased Items on Mac
- Open the App Store on your Mac.
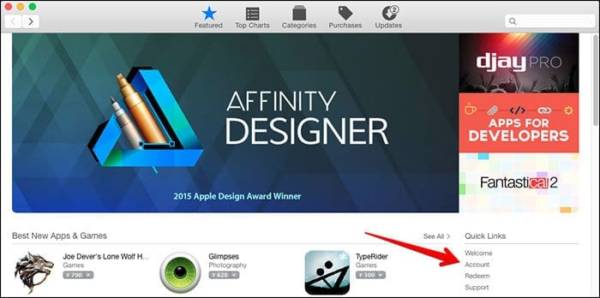
- Next up, click on Account and then login by entering your Apple ID and password.
- Now, click on Manage under Hidden items.
- Here, you should find all your hidden items. Look for the app you wish to unhide and then click on the Unhide button.
- When you are finished, click on Done to confirm.
That is all!
Wrapping Up
Do you have any questions or feedback? Feel free to share them in the comments section below.


