Are you looking to set up a new Android device ? If your answer to this question is Yes then you should stick around as we walk you through the process involved in doing so. Different phone manufacturers who produces Android Smartphones all have their own different skins on top of it, except for those on Android One aka Stock Android. Nevertheless, at its core, it’s all still Android which makes doing some things the same on all Android devices, regardless of which brand of Smartphone you’re using.
One of which is the setting up of a new Android device. Setting up a new Android device is the same on almost, if not all Android device. So regardless of the Android device you have, you can still follow the steps below to set up your Android device.
Input A SIM and Memory Card
Before switching on your new Android device, you should input you SIM first. On older Android phones, you’ll have to take of it’s back cover along with the battery to see the SIM Port and input your SIM as well as Memory Card. On Newer Android devices, you’ll have to make use of the SIM ejector tool provided in the box to pop out the SIM/Memory card tray to insert your SIM and Memory. If your phone doesn’t support the use of a memory card then there wouldn’t be a dedicated memory card slot available. Once you’ve inserted your SIM card and Memory Card if it supports it, then you can proceed to turn it on.
Select Language
Once you turned it one, you’ll be greeted with welcome page and below it will be a list language options to choose from. Click on it and Scroll through the available languages and choose the one you want. You can also Change this later by accessing the Settings Menu and going to the Languages & Input option. Once you Select your preferred language option, you can the tap on the Get Started Button below it.
How To Setup a New Android
This is where the setup process really begins, if you haven’t inserted a SIM yet you’ll be asked to do so or you can skip it. Depending on the device you’re using you might be asked if you want to restore a backup from another device, probably your old Android device or set up as a new device. If you choose backup then you’ll be given three options to restore from – Another Android device, Your Gmail account or An iPhone or iPad. However, if you choose setup as new which is the route we will be taking here, you’ll be taken to a WiFi setup page.
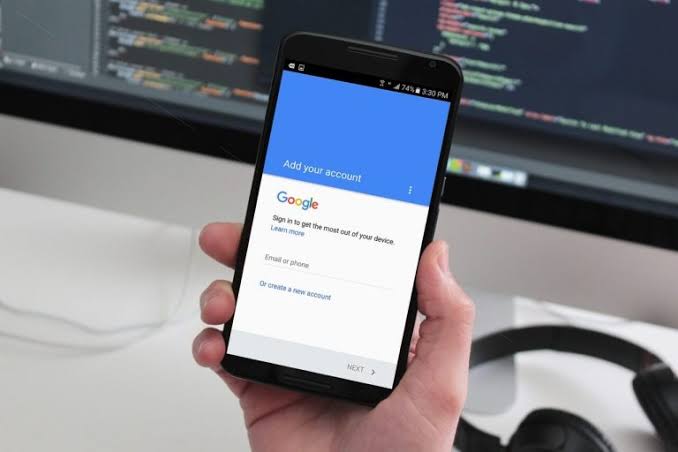
Your Wi-Fi will be turned on and it will search for available Wi-Fi network. If you see the one you would like connect to, you can simply connect to it. Otherwise, you can simply press Skip the WiFi setup process. Next is to Log In to your Google account or create a new one. Then Select if you would like your device data to be automatically backed up to the cloud. In the Next page, you’ll be asked to set up time and date, do that.
Setup A New Android Device – Almost Done
You’re almost done, what’s left is for you to choose and set up a security option. If your device has a Fingerprint Sensor or Face ID then you’ll be prompted to set that up too along side a primary security alternative like PIN, Pattern or Password. After setting that up, the last step is to configure your Google assistant. For that, you’ll have follow the on-screen instructions of the Google assistant and say “Hello Google” and “Ok Google” when required for Google assistant to know and recognize your voice.
Setup A New Android Device – Conclusion
That pretty much sums the whole Setup process up. Depending on the phone you’re using you might be shown a tutorial on to further do things like set wallpapers, customize widgets, move apps and so on. If you need any more pointers on how to go about anything on your Android device, you can simply leave a comment down in the comment section down below.

