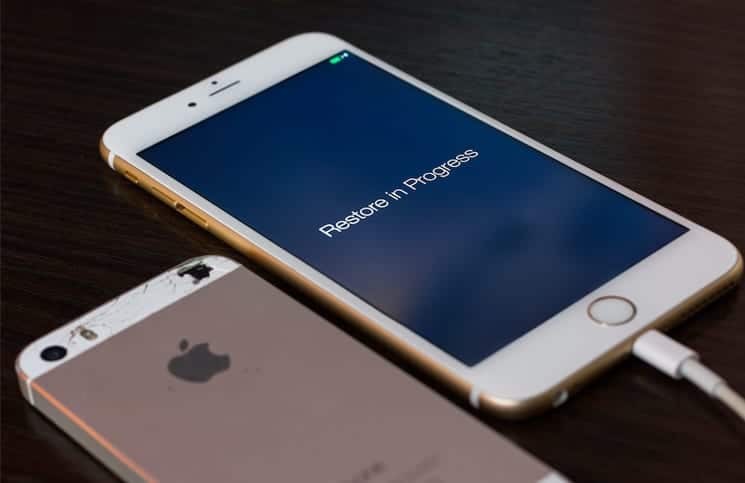
Recently, my iPhone had an issue; it kept rebooting unexpectedly and as such, I had to restore the phone to fix the issue. Due to the large size of the file, the iPhone restore from iTunes backup had literally come to a halt and it wasn’t moving at all. With the failure from the crawling restore process, at once I decided to give up the backup files.
However, I gave some few tricks a try and fortunately, a few of them worked in helping me speed up the iPhone restore from an iTunes backup process. Check them out below.
Tips to Speed Up iPhone Restore from iTunes Backup
Update iTunes to the Latest Version
If you want to fix this issue and make the iPhone restore from iTunes backup process faster, the first thing you would want to do is update iTunes to the latest version.
Most times, I discovered that the old version is one of the reasons why the process is taking too long. So, it worth giving this simple trick a try.
First off, disconnect your iPhone or iPad from the computer. Now,
On Your Mac:
- Launch the App Store and then click on the Updates option at the top of the window.
- Next, install the latest iTunes update on your Mac.
On your Windows PC:
- Launch iTunes and then click on the Help menu bar at the top of the window.
- Next, check for Updates. Follow the prompts to install the latest version on your computer.
- Once the iTunes app has been successfully updated, connect your iPhone or iPad to your computer and then proceed with the restore process as usual.
Check out the Wi-Fi Connection on Your Computer
Another thing you should make sure of is that your computer has a proper Wi-Fi connection.
- Turn off WiFi on your computer and then restart it.
- Next, you should restart your iPhone or iPad as well. Simply press and hold the power button and then swipe to power off. If you use an iPhone X or an iPhone 8/8 Plus, simply press and hold both the side button and either the volume up or volume down button at once and then swipe to power off.
- Next press the power button on your iPhone or iPad to turn it back on.
- Once both devices have been restarted, launch iTunes on your computer and then follow the restore/setup process and then select “Restore from Backup with iTunes” on your iPhone or iPad.
Use a Third Party Tool to Restore Your Data Selectively
If you are still having issues restoring your iOS device from a backup, you should try restoring your data manually. You can use a third-party tool to do this. There are quite a number of third-party tools out there. The one I always prefer to use, however, is FonePaw.
You can use this tool to restore your iOS device from both iTunes and iCloud backup without any issue at all. Moreover, the tool lets you select the data you wish to restore. Hence, you can avoid restoring unnecessary data.
If the backup file you want to restore is very large, this method is the best option to use.
- Download and install the FonePaw application on your computer. The app is available for both Mac and Windows PC.
- Next, launch the program and click on “Recover from iTunes Backup File.”
- Now, your iTunes backup files will show up on your computer.
- Next, select the most recent backup on your computer and click on “Start Scan.”
- Restore your iPhone or iPad data from iTunes backup and once the scanning is complete, all your files will appear.
- You can check the detail information by clicking the icon of the respective apps like Camera Roll, Photo Stream, Contacts, Messages, etc.
- Next, choose the items you wish to recover on your iPhone or iPad and then click on the “Recover” button.
That is all! Now all you need to do is wait for the recovery process to be completed.
Wrapping Up
So, which one of the tricks mentioned above have you used to speed up the iPhone restore from iTunes backup faster? Share your feedback in the comments section below.
You should check out these posts as well:
- How to create a system restore point in Windows 10
- How to Create Gmail Signature on iPhone, Android, and on Mac or Windows PC
- How to Save Mobile Data for Netflix on iPhone and iPad
- I Forgot My iPhone Passcode! What Do I Do Now?


