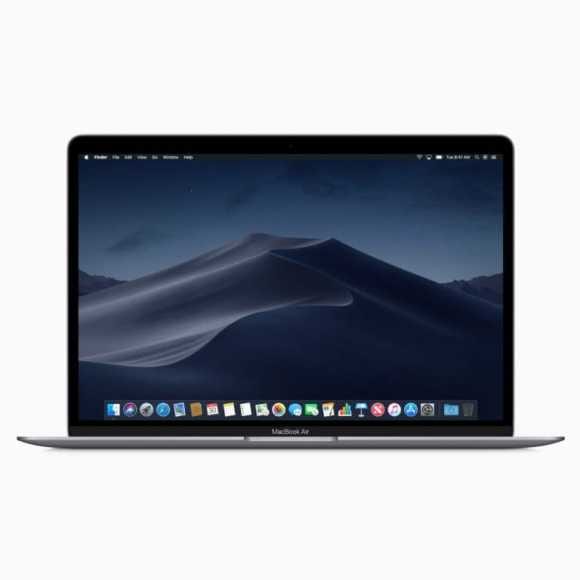
Did you install macOS Mojave but is it giving you a lot of problems or do you think Mac’s performance has dropped? It is not a rare problem and therefore you are not the only user to have found some anomalies after switching to macOS 10.14, especially if you have installed on a dated model or a version jump from Sierra or earlier. For this reason, it is always advisable to do a clean installation of the operating system especially when you are facing such an important update- the following article is born precisely with the intent to explain to you how to install macOS Mojave from scratch correctly.
How many times have you heard of clean installation or formatting of your Mac? Surely they are not fundamental operations to carry out to keep the Mac healthy but if you do not update the operating system from different versions or the Mac disk is rather messy, you have installed and uninstalled numerous programs and use it intensely for work, it could be an excellent choice to do an installation from scratch rather than update the operating system by overwriting the previous one.
Why is a clean installation useful?
The answer to this question is easy to understand- if your Mac is in the conditions described above, overwriting an old operating system with a newer one can cause compatibility problems or system stability. Apple designs the updates so that they can be fully functional even if overwritten by previous versions but to minimize the possibility that some of the common problems of macOS Mojave will come out, it is good practice to format the disk and install the operating system in a clean machine.
How to install macOS Mojave 10.14 from scratch?
It is not necessary to be computer technicians or Apple specialists to make an installation of macOS 10.14 from scratch , rather it is important to read the following steps carefully and have performed a complete backup of all the data contained in the Mac (documents, photos, videos, favorites, contacts and more) because the procedure that I will explain to you shortly requires the initialization of the disk and therefore the elimination of all the data contained in order then to reinstall macOS from scratch.
Requirements
If you have definitively decided to install Mojave from scratch, you must necessarily keep the following tools at hand:
- Mac computer supported by the new operating system
- macOS Mojave on USB stick
- fast internet connection (optional but recommended)
- full backup of data to be restored after installation
No other tools will be needed to allow you to proceed with the operation, all you have to do is continue reading the guide.
MacOS Mojave clean installation
Did you backup your Mac? Do you have all the necessary material available? Then you can proceed with installing the update by first formatting your computer and then reinstalling the operating system!
Disk formatting
To initialize the Mac disk and then format it by destroying any data contained in it to get a free hard disk from any useless files- shut down the Mac and connect the Mac OS 10.14 USB stick ; turn the computer back on by holding down the Alt key on the keyboard and when the screen appears asking you which disk to boot the computer from. If a wireless connection is available nearby, tap on the Wi-Fi icon that appears at the top right, select the network and enter any key to connect; proceed with formatting by clicking on the macOS icon Mojave / Install macOS Mojave which appears in the center of the screen. If you are asked to specify a language and a keyboard, select English.
Note- the images in the guide show the macOS High Sierra screenshots but the procedure for macOS 10.14 remains similar.
You are now on the main screen of the Mac OS Mojave bootable media- from the central window choose Disk Utility.
To format the Mac select the hard drive of the computer that appears in the top left corner usually called Macintosh HD and click on the Initialize button that appears in the top center. Next to specific Mac OS extended format (journaled) and confirm by clicking Initialize.
Wait for the key to proceed with formatting the disk- once the operation is complete, click on Finish and close Disk Utility by clicking on the red X that appears on the top left window.
MacOS 10.14 installation
Now we are in the main heart of the setup and everything is ready to do a clean installation of macOS Mojave- the disk is formatted and we have started the computer through the USB key of the new update.
To install macOS 10.14 choose MacOS installation that appears in the center, then on Continua and finally Accept to approve the contractual conditions.
When the setup asks you for a destination to install the operating system, click on Macintosh HD (the hard drive of the computer you just formatted) and choose Install. In this way you have started the installation of the operating system in a clean and completely formatted Mac- the process can take over 30 minutes to complete; do not interrupt the procedure by turning off your Mac or disconnecting the USB media.
At the end, the Mac will restart and you will be automatically taken to the screen of the first macOS Mojave configuration– follow the procedure that will appear on the screen and in a few minutes you will be ready to use the computer with all the updates of the update.
Depending on the type of backup performed before formatting, when the Mac is ready for use again, all you have to do is import the saved files and programs to start working right away!

