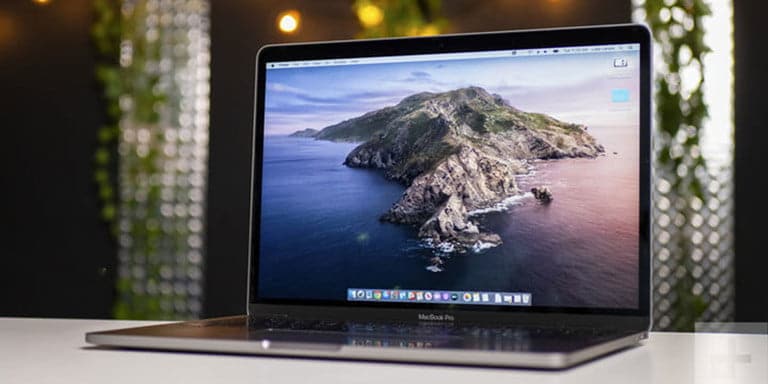
Did you install Apple’s new MacOS Catalina on your Mac, but you are having problems with the new version? Sadly, you cannot just revert back to Mojave. The downgrade will wipe your Mac’s primary drive and you will have to reinstall MacOS Mojave with an external drive.
However, if your Mac initially shipped with Mojave, the external drive instructions can be skipped. See How To Download From MacOS Catalina To MacOS Mojave:
1. Back-Up Your Mac
You Might Also Want To Read: How To Fix Your MacBook Pro Battery Life Problems?
First and foremost, you can create a current Time Machine backup to save your files or send everything to the cloud, whether it’s Dropbox, OneDrive, iCloud e.t.c. It is possible that you already have a backup before installing Catalina. If that is not the case, do this now before going ahead to the next step. Like I said, downgrading to Mojave will wipe your Mac’s drive.
2. Enable External Media Booting
The same instructions apply to MacBook Pro, MacBook Air, and Mac mini models released last year or later. It also concerns the iMac Pro released in 2024 or later. These devices come with Apple’s T2 security chip offering secure boot, encrypted storage, live “Hey Siri” commands and so on.
To confirm that you have this chip, do this:
Apple button > About This Mac > System Report > Controller (or iBridge).
If your Mac does not have Apple’s T2 security chip, you do not have to activate external media booting. Else, restart the Mac and hold down the Command and R keys until the device boots into Recovery Mode.
After accessing Recovery Mode, tap Utilities on the toolbar then Startup Security Utility in the drop-down menu. Type in the administrator credentials when asked then tick the box close to the Allow booting from external media option listed under External Boot.
3. Download MacOS Mojave
You Might Also Want To Read- How to uninstall Bitdefender from Mac or PC
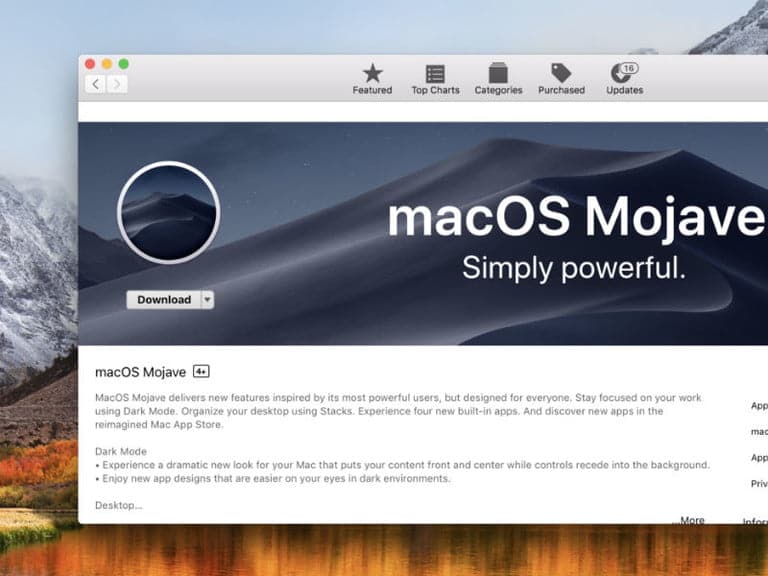
You will have to grab MacOS Mojave from the Mac App Store. The most appropriate way to retrieve a copy is to go through this link on a Mac. Mojave will not show up when performing a search inside the Mac App Store itself.
Tapping this link will automatically load Mojave’s product page inside the Mac App Store app.
4. Prepare Your Drive
To proceed, you will have to format an external drive. Connect an external drive and go through this path:
Finder > Applications > Utilities > Disk Utility.
Choose your drive listed under External and tap the Erase tab. Name the drive, choose the proper format (MacOS Extended or APFS), choose GUID Partition Map if available, and then tap Erase. Choose Done when the formatting completes.
Now the external drive needs to be bootable. Follow this path:
Finder > Applications > Utilities > Terminal.
Enter the following into the Terminal. Remember to replace “YourExternalDriveName” with the drive’s real name you used in the formatting step.
sudo /Applications/Install\ macOS\ Mojave.app/Contents/Resources/createinstallmedia –volume /Volumes/YourExternalDriveName
Tap Enter/Return key after entering the command. You will have to type the administrator password when asked then tap “Y” key for confirmation.
5. Wipe Your Mac’s Drive
After the installation of MacOS Mojave on an external drive, you are set to wipe your Mac’s drive. Do not connect the drive yet. Rather, restart and hold down the Command and R keys until the device boots into Recovery Mode.
After that, tap Disk Utility, then Continue. On the next screen, choose your Mac’s primary drive and tap Erase. Adhere to the instructions to choose a drive name, file format, and GUID Partition Map.
6. Install Mojave
If your Mac shipped with MacOS Mojave, restart and hold down the Shift, Option, Command, and R keys at the same time. This will instantly install Mojave from a picture located on a dedicated partition.
Else, connect your Mac to the internet, connect the external drive, and restart through the Apple icon in the top left corner. As the Mac restarts, hold down the Option key.
The next screen will reveal a list of startup disk options. Choose your external drive containing the MacOS Mojave installer and tap Continue.
7. Use Time Machine
Now that MacOS Mojave is good to go, you need to use Time Machine to bring back your settings and files to their pre-Catalina state.
Restart the Mac and hold down the Command and R keys to enter Recovery Mode. Tap the Restore from Time Machine Backup option listed on the MacOS Utilities pop-up. Tap Continue to enter this mode followed by another Continue button to accept the information.
Start the backup restoration by choosing your backup source. After that, choose the latest Mojave backup to continue.


