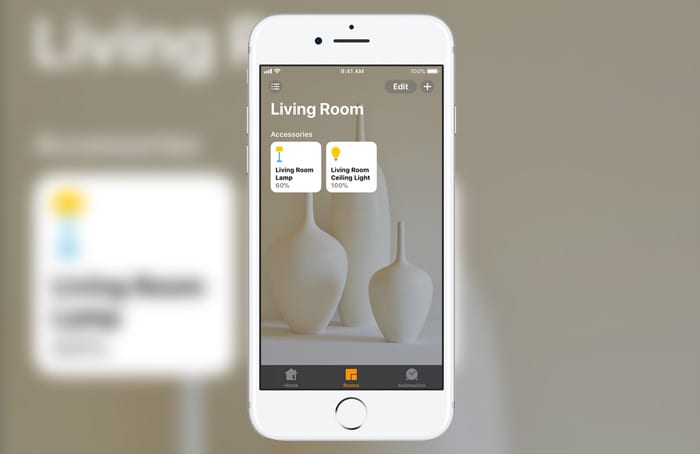
The home app has got a lot smarter in iOS 11 as it now allows you to control smart accessories easily. Case in point, you can group rooms together into a zone in the Home app on your iPhone or iPad to comfortably control different areas of your house with Siri.
So, if you are living in a two-storey home, you can divide accessories into upstairs and downstairs. Then you can simply say, “Hey Siri, turn on the lights upstairs.” This is a more straightforward method of handling HomeKit accessories, isn’t it?
How to Group Rooms into a Zone in Home App on iPhone and iPad
How to Organize Rooms into a Zone in Home App on iPhone and iPad
How to Add Rooms and Assign Accessories in Home App on iPhone and iPad
First of all, you need to make sure that you have added rooms to the Home app and also assigned accessories to them. If you haven’t already done that, you should do it now.
Step #1. Launch the Home app and then tap on the Rooms tab.
Step #2. Next, tap on the menu button in the top right corner of the screen and then tap on Room Settings.
Step #3. Tap on Add Room.
Step #4. Next, you need to give your room a name.
If you want to change the wallpaper of the room, tap on Take Photo or choose from existing photos. Once you have gotten a photo, tap on Save.
To assign accessories to a room, go to the Home or Rooms tab and then tap and hold on an accessory.
Step #5. Now, tap on Details and then tap on Room.
Step #6. Next, you need to choose a room for the accessory.
Step #7. Finally, tap on Done to confirm your settings.
That is it!
If you want to create more rooms, simply follow the steps above over again.
How to Group Rooms into a Zone in the Home App on iPhone or iPad
Once you have created rooms in the Rooms tab, the next thing you need to do is to group them.
Step #1. Open the Home app on your iPhone or iPad.
Step #2. Next, tap on the Rooms tab at the bottom of the screen and then tap on the menu button in the top left corner of the screen.
Step #3. Now, you need to tap on Room Settings and then tap on a room.
Step #4. Tap on Zone.
Next, you need to either tap on an existing zone or add a new zone. To create a new zone, tap on Create New and then enter a name for the zone.
Step #5. When you are done, make sure to tap on Done to confirm your settings.
You have successfully created a zone. If you add more rooms to the zone, simply follow the steps listed above.
Now, you can ask Siri things like, “Hey Siri, turn on the lights upstairs.” And the intelligent personal assistant will instantly get it done for you.
Wrapping Up
So with these few and easy steps, you can take complete control of the smart accessories! If you have any feedback or questions, make sure to share them in the comments section below. We would love to hear from you.


My bross, scenes do not work in automations. He have an automation that he added the “good morning” scene to. For whatever reason it is not enabling the scene. He deleted the automation and re-created it and still isn’t working. Any ideas?
Nice information sir