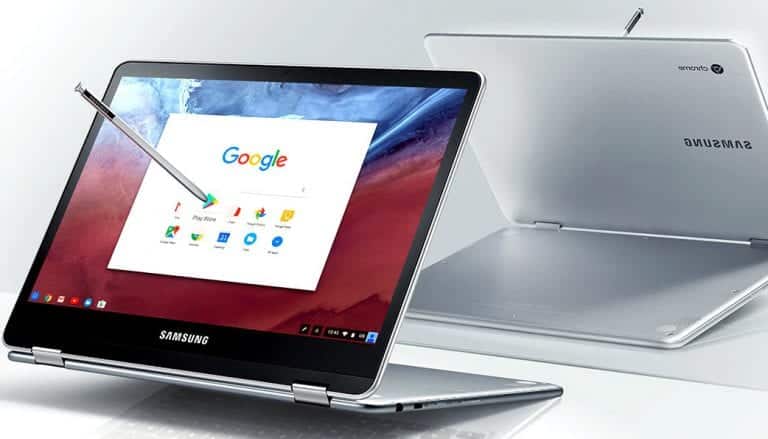
Installing Android apps on Chrome OS is a big deal, so far only three Chromebooks can officially run Android apps. The rest is not possible until you read this tutorial.
Fortunately, there is a trick to install the Play Store on Chromebooks that still cannot officially install Google apps.
Thanks to some experienced users we have been able to find a way to install the Play Store on almost all Chromebooks that officially support Android applications.
Please note that this trick may not work on many older models.
If your Chromebook is on this list, the chances of this trick working are very high.
Having this feature on your computer requires the use of the Canary channel, which is sometimes very unstable, and often also unusable.
Proceed with caution, GuideSmartPhone.net assumes no responsibility for anything that can happen to your device if you decide to try.
How to install Play Store on Chromebooks
The first step is to enable developer mode on the Chromebook.
This varies slightly depending on the model, but for most Chromebooks, it should work by pressing Esc + Update (F5) + Power.
After that, the screen should turn white followed by a warning screen.
Now, press Ctrl + D and you should then switch to developer mode.
This procedure may take up to 20 minutes depending on the device you are using, so please be patient.
Note: Once the developer mode has been activated, you need to press Ctrl + D on reboot and skip the verification screen.
The next step is to move on to the Canary channel.
To do this press Ctrl + Alt + T to open the command prompt.
From shell enter sudo su to get root access and type:
update_engine_client –channel = canary-channel –update
Now that you’ve entered the canary channel, you need to open another command prompt by pressing Ctrl + Alt + T, followed again by the shell to open a prompt.
Go ahead, and type the following commands.
- sudo su –
- echo ‘–enable-arc’> /usr/local/chrome_dev.conf
- mount -o bind /usr/local/chrome_dev.conf /etc/chrome_dev.conf
Once you enter these commands. Press Ctrl + Shift + Q twice to exit. Once logged in.
Once you’ve done all this and restarted your computer, your device should have access to the Google Play store.
If not, check the settings menu to enable Google Play.
So far this tutorial has been tested on the following Chromebooks, but it should also work with other models.
- Dell Chromebook 13 (i3)
- Acer Chromebook 14
- Acer Chromebook 15
- Samsung Chromebook 3
- Toshiba Chromebook 2 2015
If you wish, you can return to the old settings.
First, press Ctrl + Alt + T, type the command shell, then sudo su.
Afterward, type the following command to return to the stable channel:
update_engine_client –channel = stable-channel -update
Have you finished! With this guide, you have seen how to install Play Store on Chromebooks.

