Depending on the subscription plan you’re enrolled in, Netflix provides several resolution options. In the following guide, we will demonstrate how to modify the video quality settings on both mobile and desktop platforms.
Page Contents:
When you’re using Netflix, it’s possible to modify the video quality of your content to align with your preferences. This feature is handy when you wish to manage your data consumption or reduce the impact on your Wi-Fi network’s performance.
No matter the motivation behind your choice to regulate Netflix’s video quality, we’re here to guide you through the steps required to make these adjustments.
Netflix Video Quality Limitations
Before delving into the process of adjusting video quality on Netflix, it’s important to address the constraints set by the service based on the available subscription plans.
To begin, if you’ve opted for the Basic plan, your viewing experience will be limited to 480p resolution, which is relatively modest. Consequently, modifying settings, even if attempted, won’t yield significant improvements.
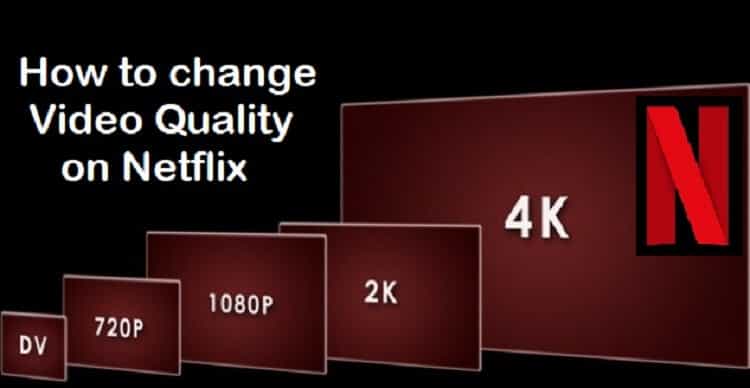
For those subscribed to the Standard plan, content can be enjoyed in 1080p resolution, encompassing both HD and Full HD. Premium subscribers, on the other hand, have access to the full spectrum; any restrictions on the highest resolution levels are dictated solely by the nature of the content. With the Premium plan, the viewing options extend to Ultra HD (4K) and HDR content. Navigating the selection of the most suitable Netflix subscription plan for your needs is indeed a comprehensive process.
How to Change the Video Quality on Netflix
You have the option to adjust the video quality on Netflix through either the website or the mobile app. These adjustments are particularly useful if you’re working with data caps and need to manage your usage. Gaining insights into the actual data consumption of Netflix can provide valuable information when making these decisions.
How to Change the Video Quality on Netflix (Desktop)
- Go to Netflix.
- Click on the profile icon located in the top right corner.
- Go to Account and then to your profile icon.
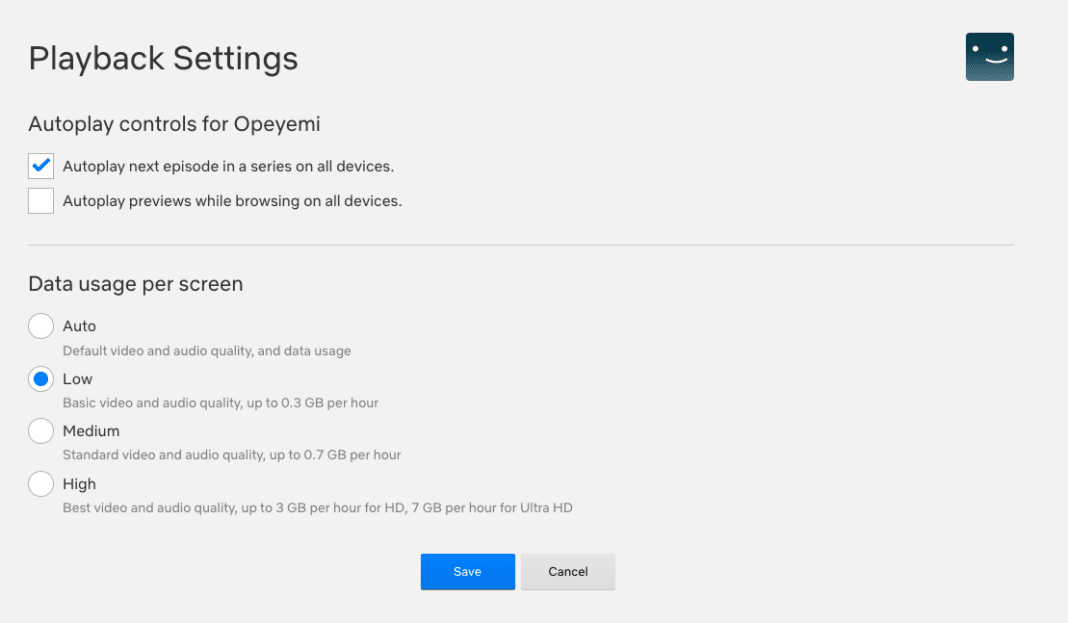
- Scroll down to Playback settings > Data usage per screen.
- Choose between Auto, Low, Medium, and High.
- Auto: This will take your device’s specs and internet speed into consideration.
- Low: This mode will consume up to 0.3 GB per hour.
- Medium: Using this mode will consume up to 0.7 GB per hour.
- High: Choosing this one will have your device consuming up to 3 GB per hour for HD content and 7 GB for Ultra HD.
- Click Save.
How to Change the Video Quality on Netflix (Desktop)
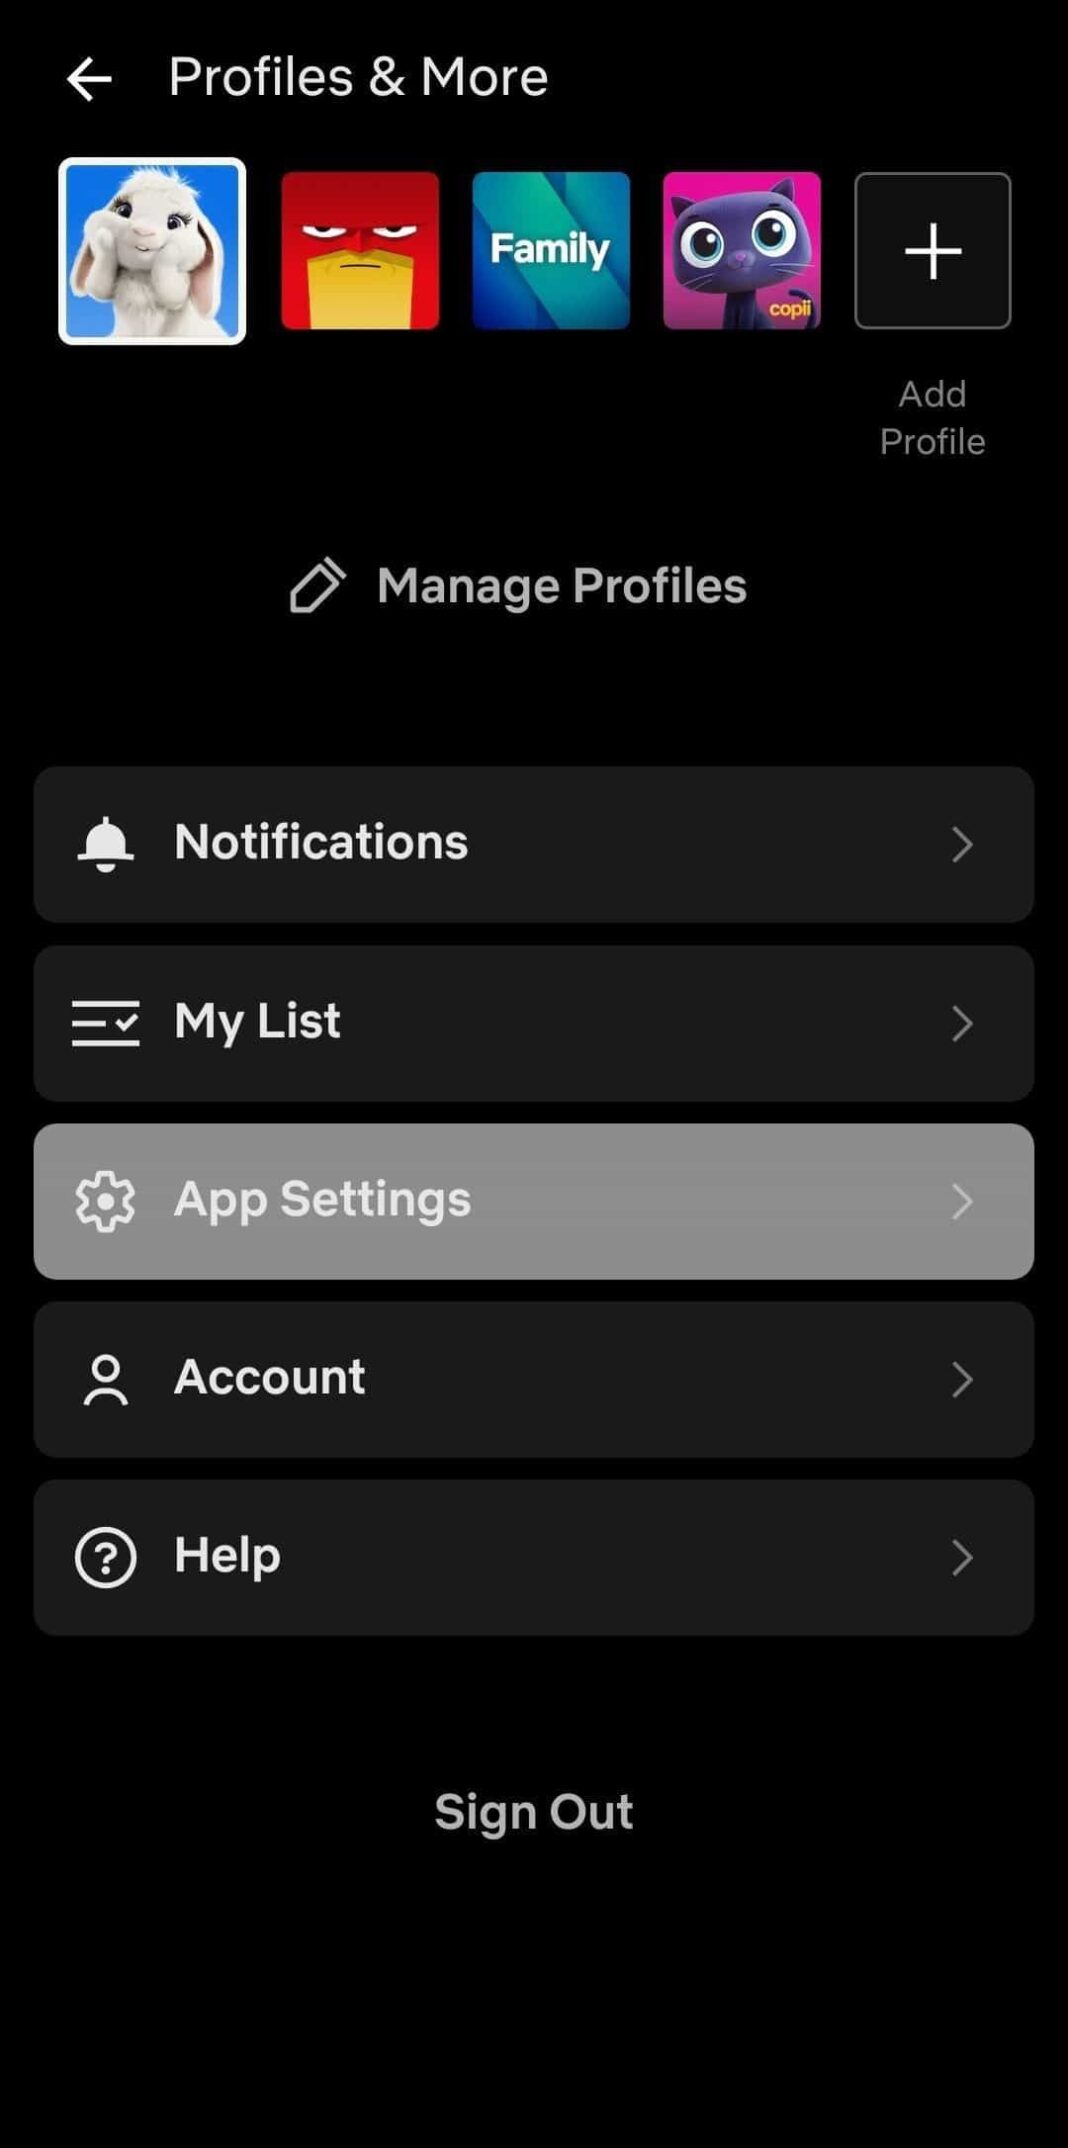
- Launch the Netflix app and tap on your profile icon in the top right corner.
- Go to App Settings.
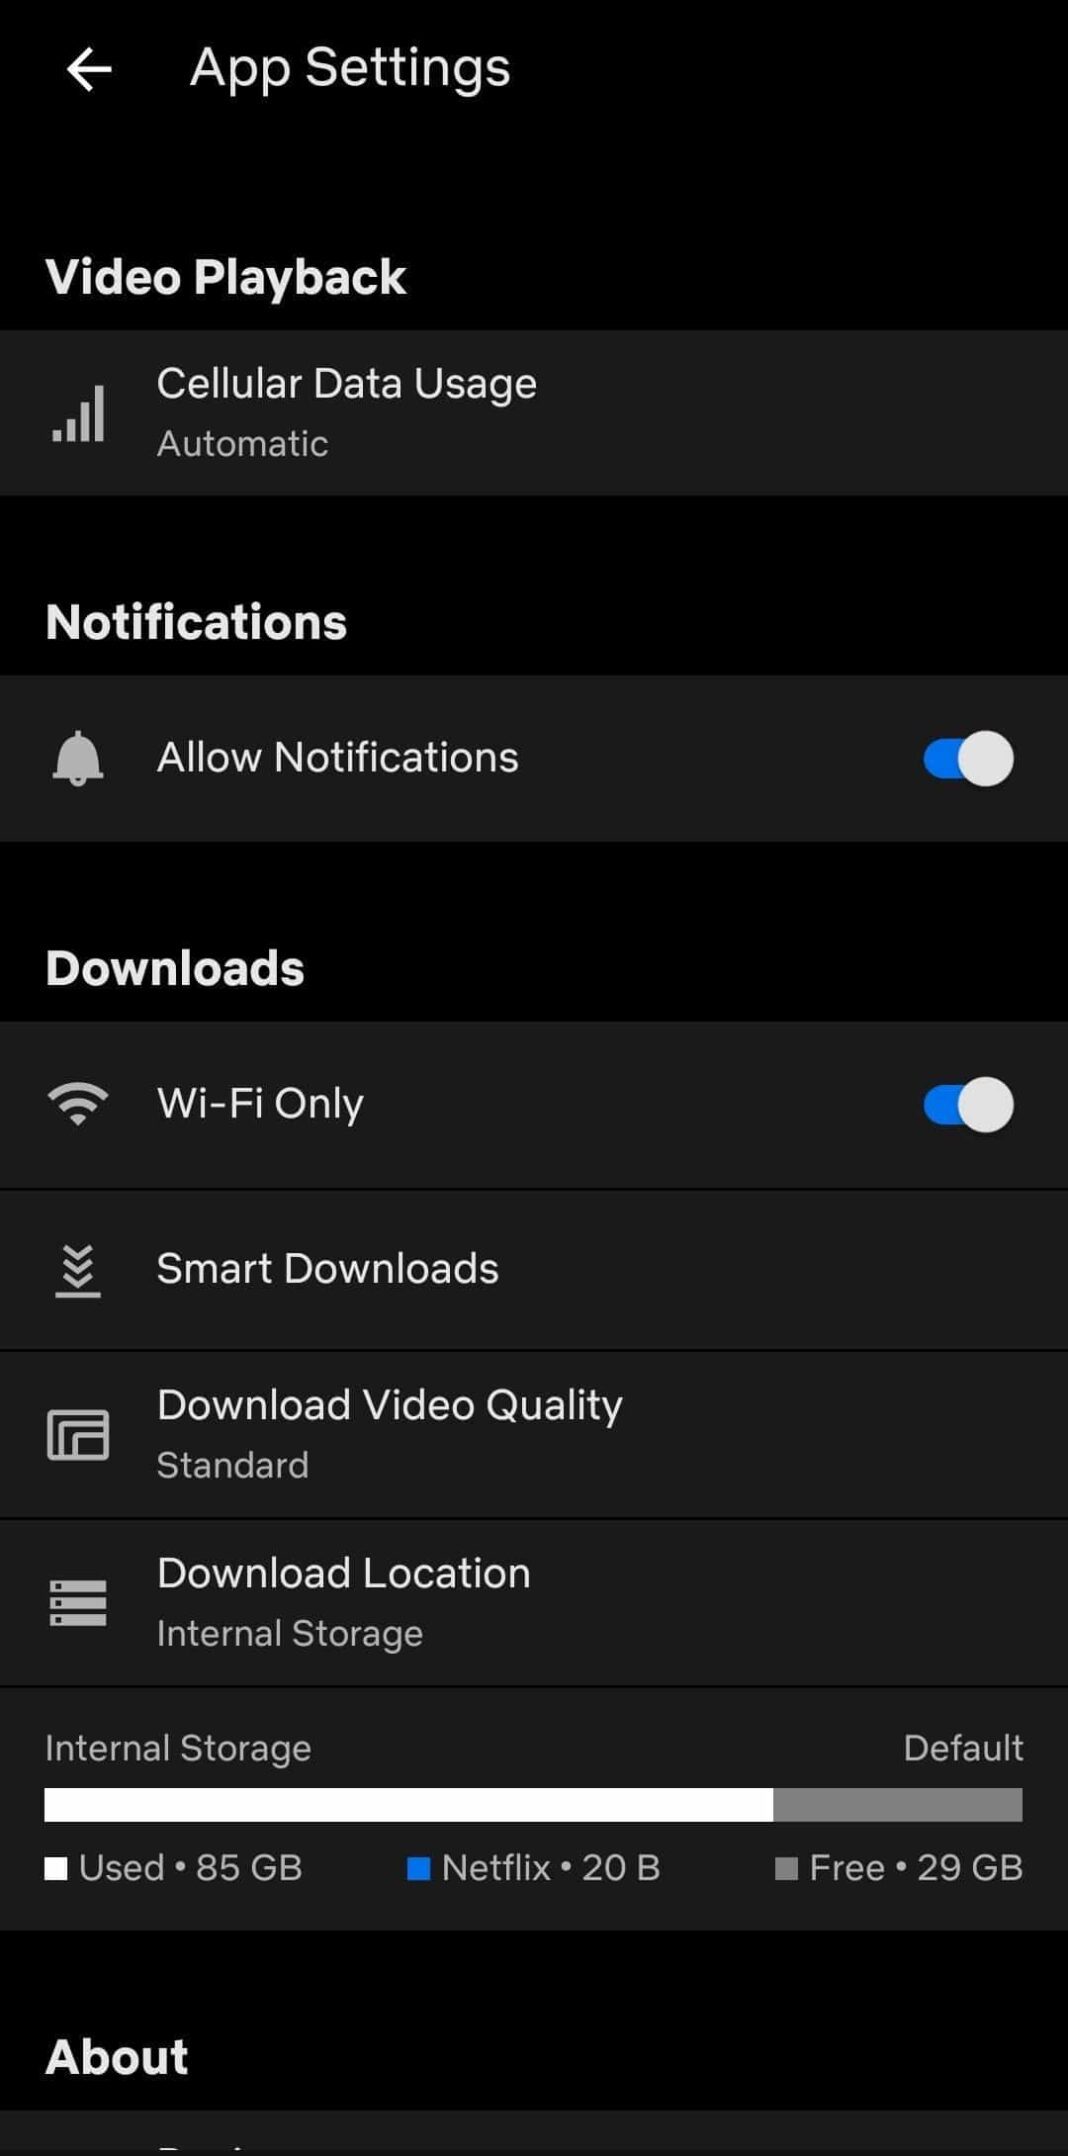
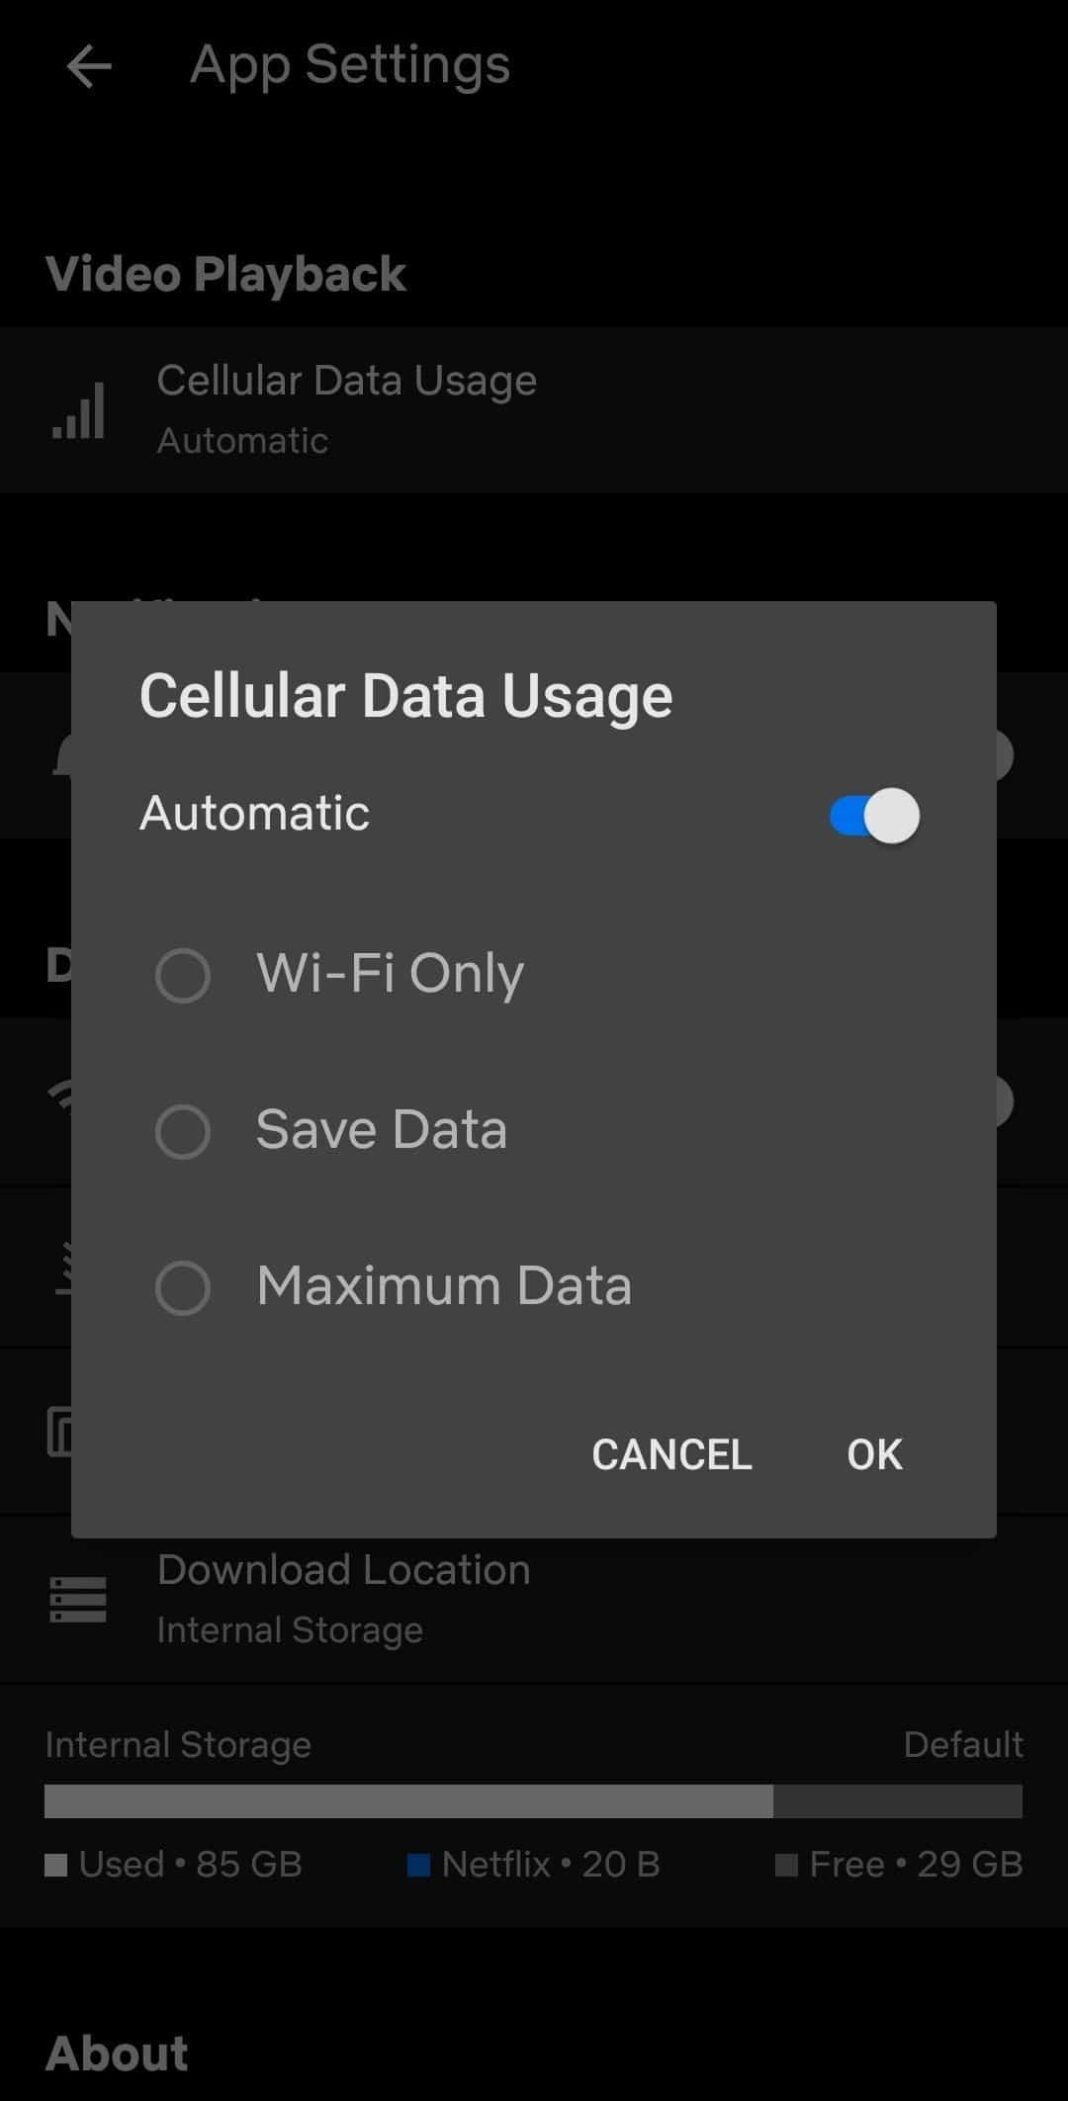
- At the top of the page, find Video Playback > Cellular Data Usage.
- You have a few options:
- Automatic: The app will adjust the video quality on its own, based on your data connection.
- Wi-Fi Only: This is perfect if you want to stream Netflix only when you’re connected to Wi-Fi.
- Save Data: If you need to conserve cellular data, you can choose this one, so your bill doesn’t explode.
- Maximum Data: If you have unlimited data on your device or you just don’t care about the numbers, pick this one for the best Netflix video quality at all times.
- Make your pick and then tap X to return to the previous menu. In order to choose anything other than Automatic, you’ll need to deselect this option first.
Be Mindful of the Netflix Video Quality
With the procedural aspects covered, it’s essential to emphasize the importance of being aware of the Netflix video quality you opt for, particularly when using mobile devices. This caution is vital, as exceeding quality limits on your account could potentially lead to unexpectedly high charges on your bill.

