
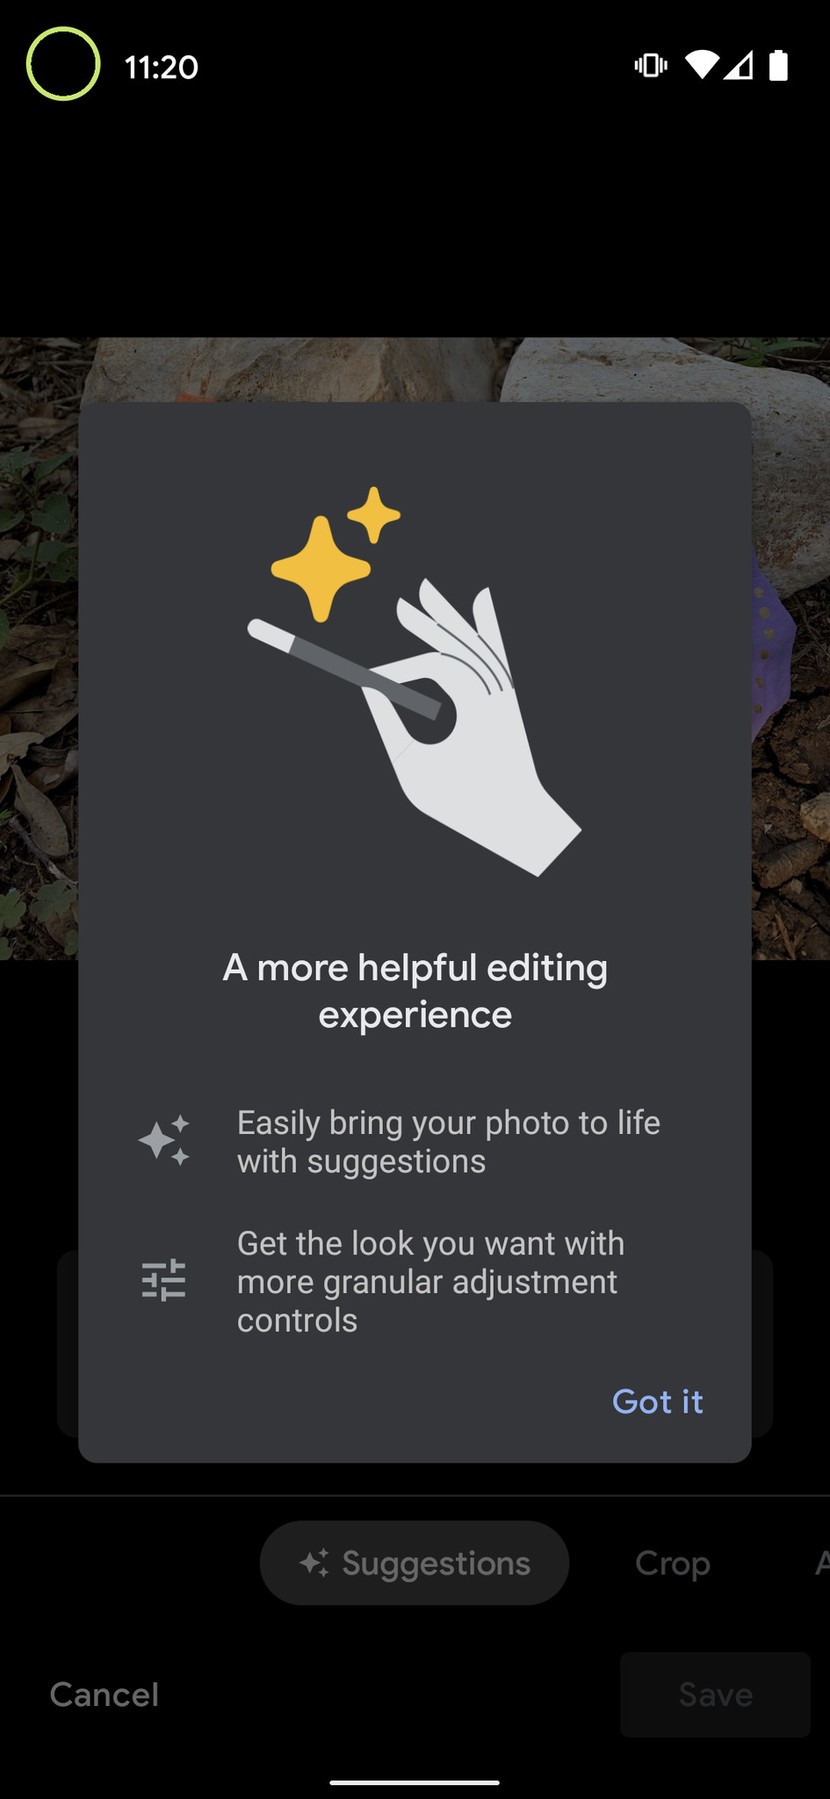
When Google launched the Pixel 5 and Pixel 4a 5G, it did not just unveil 2 smartphones with amazing cameras, it also introduced new Google Photos editing features. The improvement in machine learning, AI, and UI has made it possible for owners to do more with light and portrait mode once an image is captured.
They also come with more granular manual controls and we will expatiate on how to locate these features in the Google Photos application plus how to use them to improve the quality of photos you snap. See the answer to your How Do I Use The New Google Photos Editor question:
How Can I Use The New Google Photos Editing Features- Manual Controls?
You Might Also Want To Read: How Do I Add Photos To Google Review
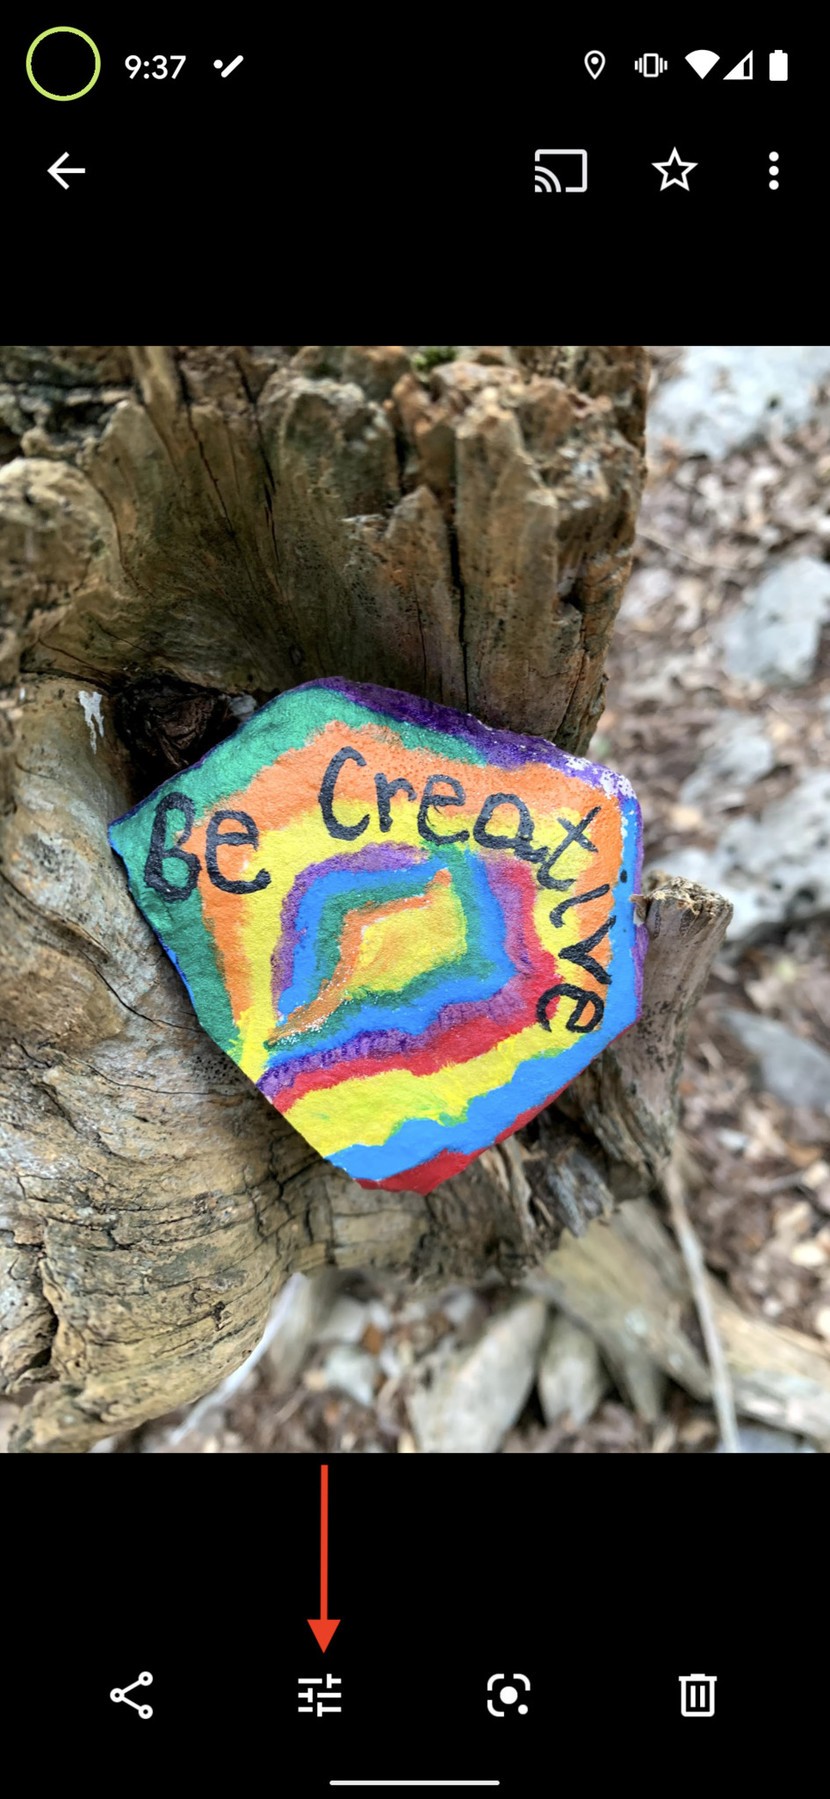
As soon as you receive the Google Photos app update, editing your pictures (whether you just snapped them or when they are already saved in your archive) will be simpler than ever. You just have to click on the picture that you wish to edit and you will be granted fast access to manual editing modes such as brightness, contrast, saturation, tint, and warmth.
Clicking into every setting will reveal a slider that lets you make precisely the type of granular edits of your choice to make your photos stand out. Adhere to these instructions:
- Launch the Google Photos application.
- Click on any image.
- Click on the editing tool way down on the screen (It resembles 3 lines with slots in them).

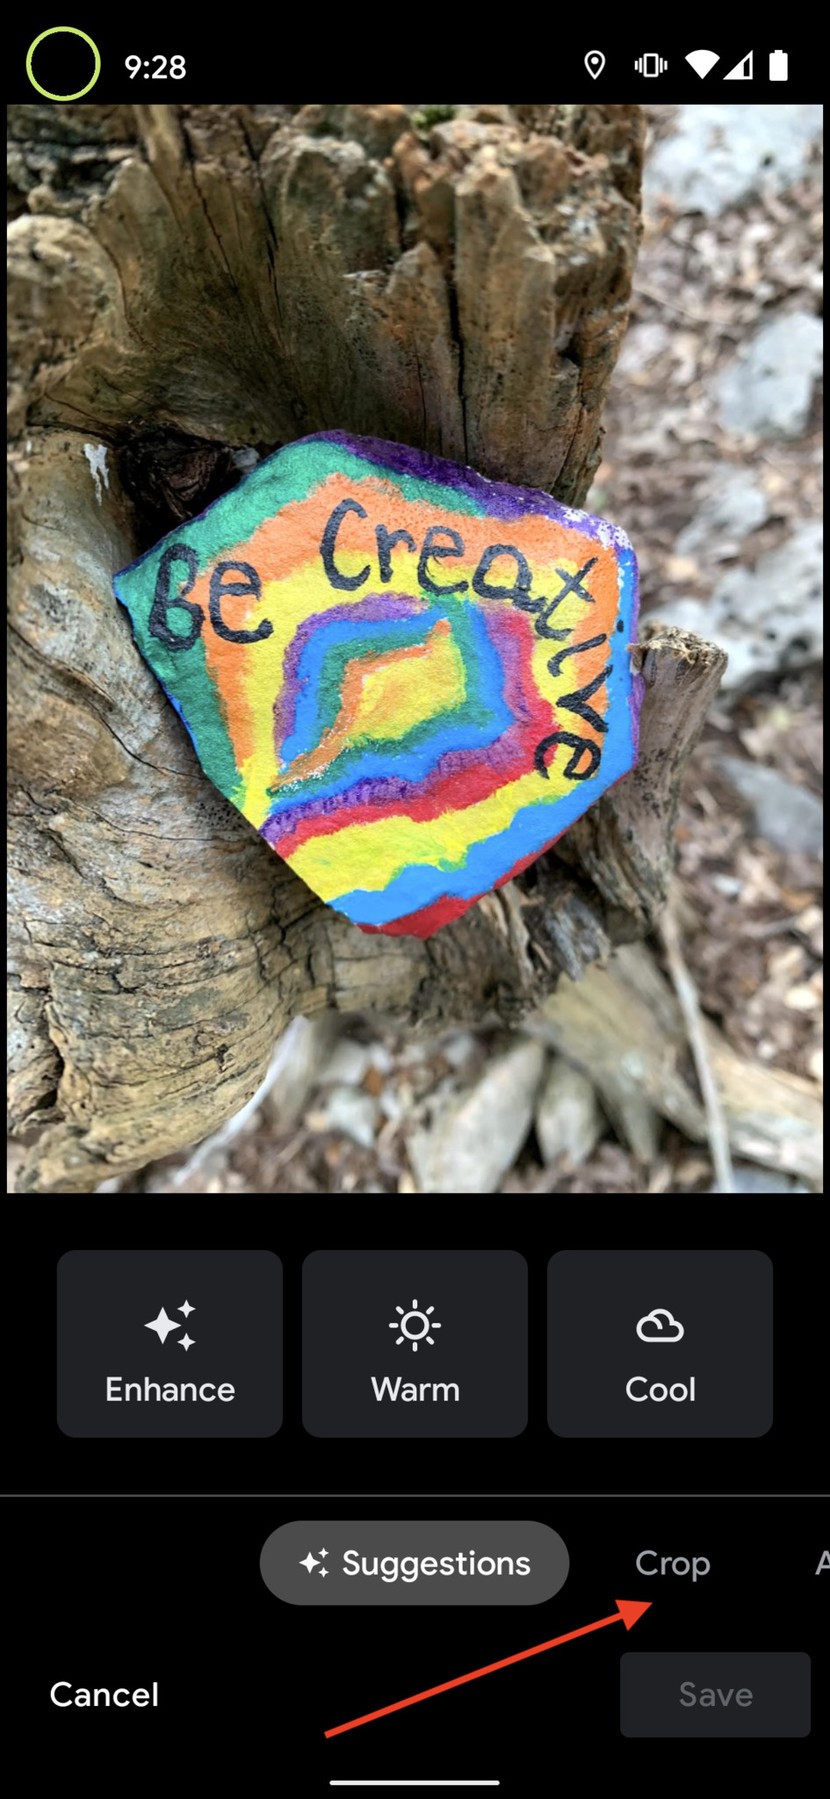
- Swipe sideways via the several editing modes like Crop, Adjust, and Filters.
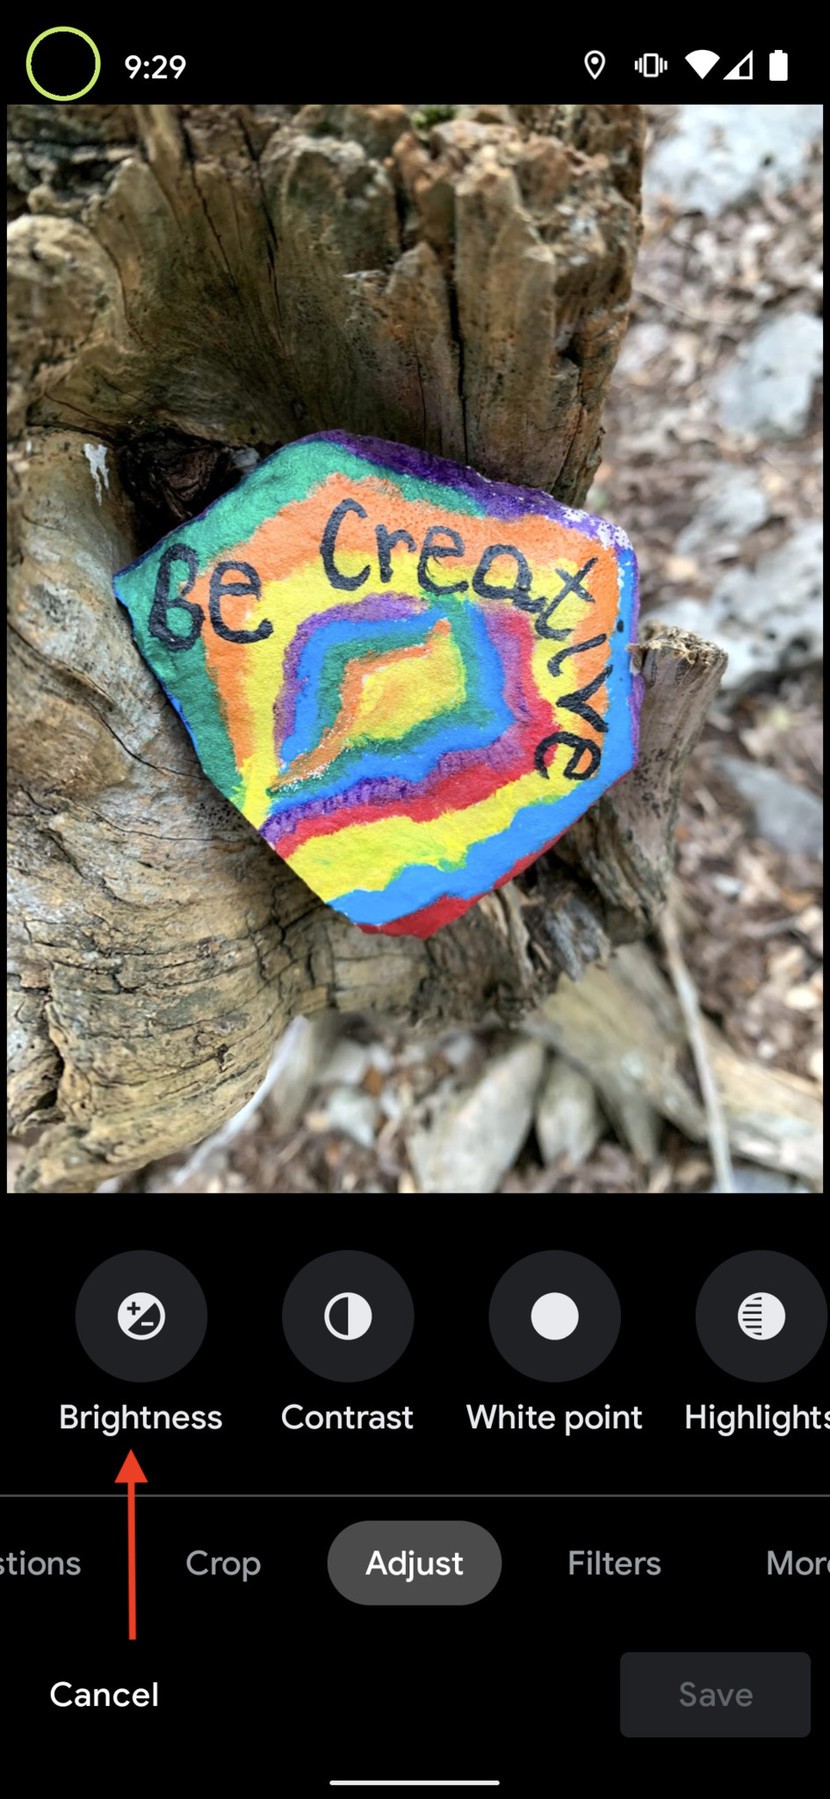
- Click on one of the editing modes such as “Adjust.”
- Swipe through the controls above like Brightness, Contrast, White Point, Highlights, Shadows, Black Point, Saturation, Warmth, Tint, and so on.
You Might Also Want To Read: How To Organize Your Google Photos Collection?
- Click on one of the editing modes such as Brightness.
- Move the slider to make adjustments and click “Done.”
- Select another mode to adjust and repeat the process.
- Click “Save.”
How Can I Use The New Google Photos Editing Features- Portrait Lighting Effects?
With Google’s advanced AI and machine learning, Google Photos can now make admirable adjustments with lighting and portrait effects after a picture is taken. As with other manual controls mentioned earlier, portrait lighting will be readily available in the editing menu, with granular slider controls and gestures that let you click on the picture and apply the right background blur around your subject. These features will be useful irrespective of whether you initially captured the picture in portrait mode or not.
As you can see from the first 2 pictures above, immediately you capture a selfie or image capture, Google Photos will prompt you to know if you wish to try Portrait mode. If you click that, you will get some fast toggles to improve your portrait or change it to a black and white image or launch a pop of color.
That is that.
