Do you own a PlayStation 4 that has become louder recently? Then there could be dust inside, and you really do not want that. The fans will start to overwork and the PS4 will start getting hot. All this can lead to a hardware failure and you do not want that to deprive you of your game moments.
So, never postpone cleaning the hardware, especially if it is more than 1 year old when it’s “Limited Warranty.” has elapsed. If your PS4 is still under warranty, though, be aware that the interior cleaning process we will break down will void your warranty. Let’s jump right into it:
You Might Also Want To Read- How To Enable HDR On Your PS4, PS4 Slim And PS4 Pro?
If you want to clean a PS4, all that is required are:
- A clean, dry microfiber cloth.
- A T9 screwdriver.
- A little Phillips screwdriver.
- A can of compressed air.
- A cotton swab (Q-tip, for example.)
Before we break down how to clean a PS4 itself, you have to know that, to clean a PS4 controller, you just have to make use of compressed air to blow off any dust and then wipe it down with a microfiber cloth. If the controller still looks dirty, make use of a cloth lightly dampened with a 50:50 blend of water and isopropyl alcohol.
You Might Also Want To Read- How To Disable PS4 Background Music
How Can I Clean My PS4 Console?
- Power off the console and get all cords and cables disconnected.
- Blow dust off the unit with compressed air and wipe down the exterior with a dry microfiber cloth.
- Get the stickers on the back peeled off and then take out the screws with your T9 screwdriver.
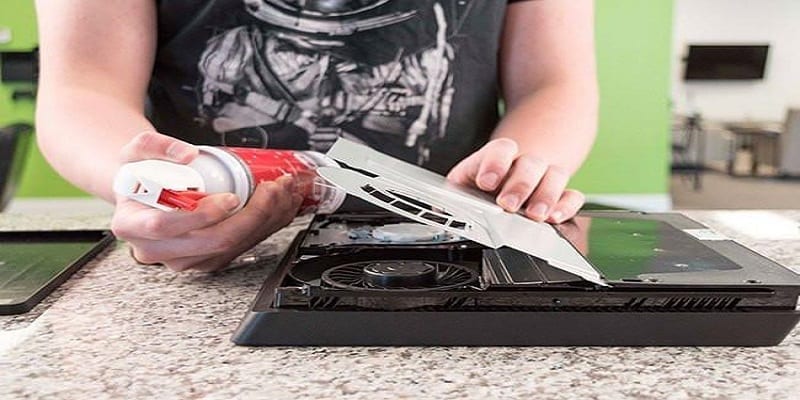
- Slide off the case, then blow dust out of the exposed interior with brief bursts. Ensure that the can is kept upright.
- Take out the screws holding the power supply in place (be aware that there are both T9 and Phillips screws), then lift it out cautiously and set it aside. As you do all this, make sure that you do not disconnect the power supply cable.
- Immobilize the fan by sliding the cotton swab down between its blades (pls note that if the spinning is forced, it can render the hardware, faulty.) then aim your compressed air to make sure it blows dust up through and away from the fan.
- Have the power unit and its screws, the case and its screw replaced, and keep enjoying your gaming experience.


