The recently released laptops come with a built-in webcam, meaning you do not have to purchase more equipment to enjoy your personal computer anyhow you want. However, when the webcam is faulty, that can ruin a lot of plans in ways you do not like.
Page Contents:
Several problems, from the tiniest bugs to a more troublesome driver issue, can be responsible for your webcam’s fault. But not to worry, in this tutorial, we will break down the potential reasons and solutions to get it back to normal again. See How To Rectify A Faulty Webcam On A MacBook:
What You Must Know Before You Begin To Troubleshoot?
Be aware that Mac’s operating system has no built-in application that configures your webcam. Almost all the apps that can be used on your Mac to access the camera come with their own settings. You have to activate the webcam by adjusting the settings within each individual application, it cannot just be enabled and disabled on your Macbook.
When you launch an application, that is the time your webcam is enabled too. To know if this happened, just:
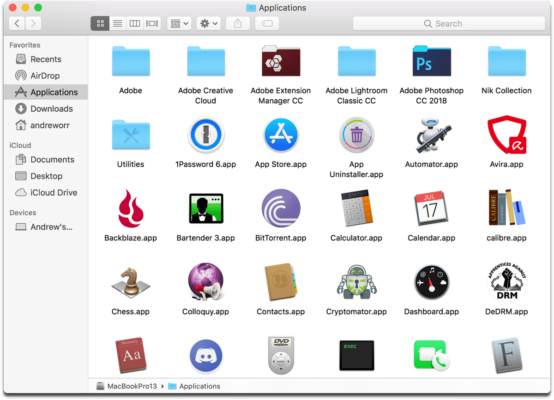
- Head to Finder.
- Choose “Applications” and select the app you wish to use the camera with.
You Might Also Want To Read: Windows 10 Webcam not working? See how to fix
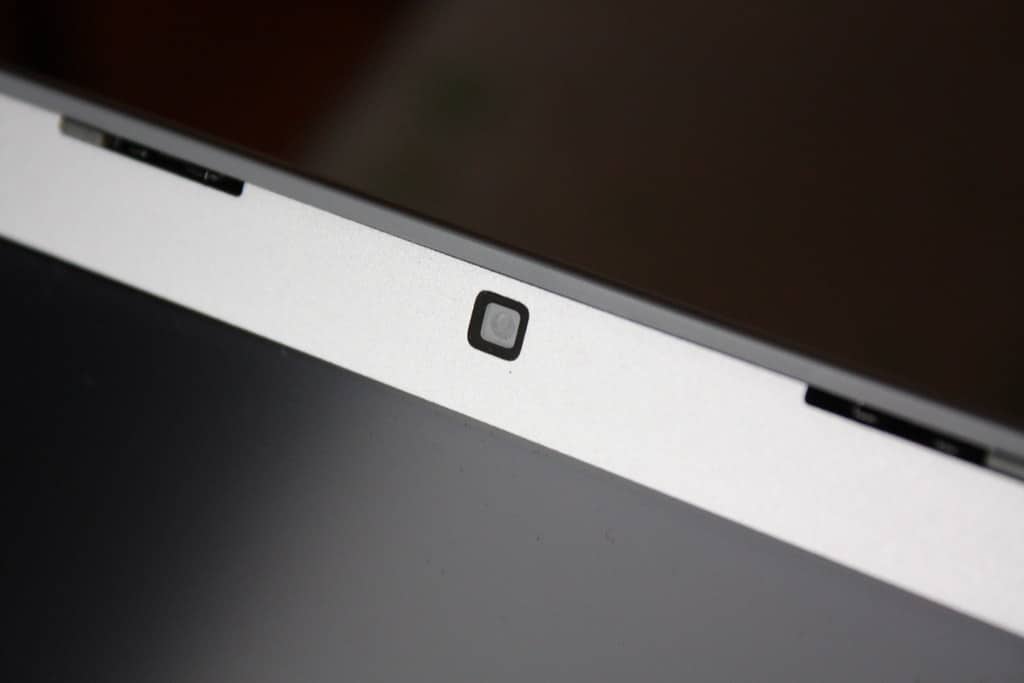
- The LED light close to your built-in cam would switch on to show you that the cam is now active.
If it is not working, there are other ways.
1. Ensure There Is No Conflict Or Virus
When 2 or more applications are trying to use the webcam simultaneously, there could be issues. if you are trying to make a FaceTime video call and your cam is failing you, make sure no cam-using app, like Skype, for instance, is running in the background.
If you do not know how to monitor your active applications, see how to check:
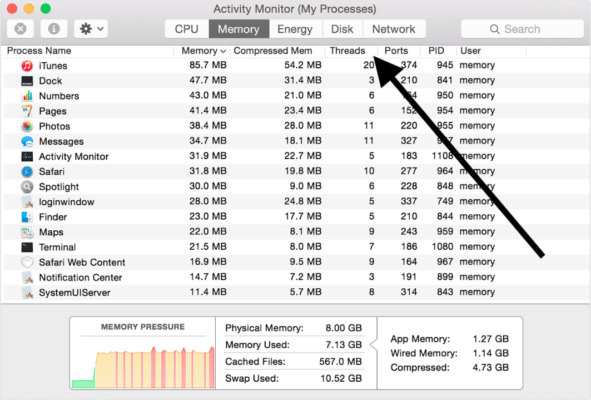
- Head to Applications.
- Launch the “Activity Monitor” application.
You Might Also Want To Read: How to know if they are spying on me through the webcam
- Tap on the app you know is using the webcam and end process.
- If you are not aware of the application that might be causing the problem, it is best to close everything. Just make sure what you are working on is saved.
2. The SMC
Mac’s System Management Controller might be the solution since it controls several hardware functions. You just have to reset it and that is not difficult. Simply:
- Power off your MacBook and ensure the adapter is plugged into an outlet.
- Press Shift + Ctrl + Options keys simultaneously and power on the computer.
- After your Mac starts, press Shift + Ctrl + Options at the same time again.
Ensure you hold the key for thirty seconds then release them and hold on for your laptop to boot. - Confirm if your webcam is now working properly.
To reset an iMac, Mac Pro, or Mac Mini, adhere to these instructions:
- Power off your laptop, then gets it disconnected from a power source.
- Press the power button and wait for 30 seconds.
- Let go of the button and connect the power cable again.
- Hold on for the laptop to start and confirm if the webcam has been fixed.
3. A System Update
Like other operating systems, a system update could be the problem between an application and your webcam. This is especially true when the webcam was working perfectly until a recent system update led to an error. You get this all the time when it comes to automatic updates. To fix this, it is best to return your operating system to its previous state and confirm if it ended the problem.
That is that.


