Rooting the InnJoo Note Pro and some other InnJoo Products is as easy as installing games & other apps on them. We have previously covered many tutorials on how to root different devices ranging from the Tecno, Infinix, and HTC. But today, we are here to discuss the steps to take to make your InnJoo Note Pro rooted.

Disclaimer – Please note that TechVaz won’t be responsible if your device gets bricked in the process of rooting. You should also be aware that rooting your InnJoo device may void the 12-month warranty given to your InnJoo smartphone.
Without wasting so many times, let’s head straight to the steps.
Steps to Root InnJoo Note Pro
- First, you need to download the latest Kingroot app.
- Secondly, install the app on your device.
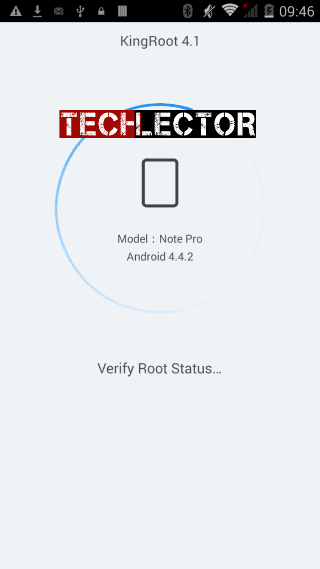
- Ensure you have an internet connection on your device. Because it will first verify your root status as seen in the image below.
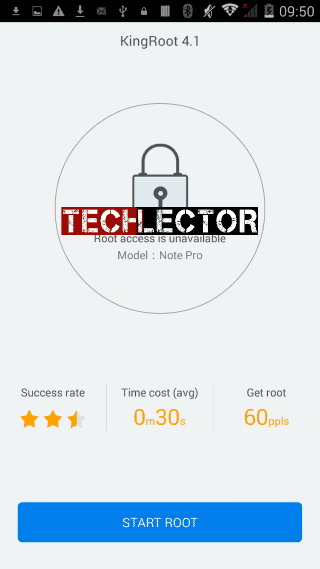
- Wait for all checks to be complete. If completed, your root status will be shown as this:
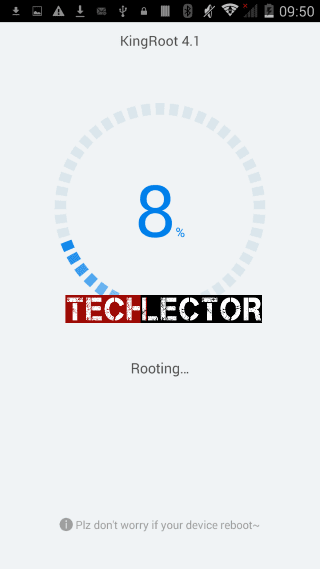
- Click on the blue “START ROOT” button below the screen to begin rooting.
- The rooting process should start and you should see something like this.
- Wait for rooting to complete.
Note: Be aware that your phone may restart during the process of rooting.
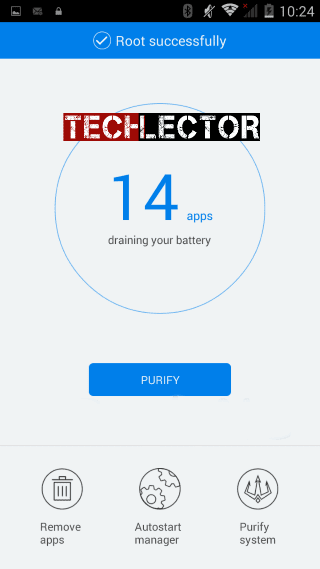
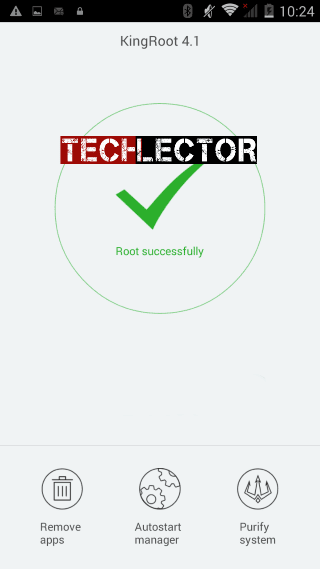
- You should see a blue tick reading Root Successful at the top of the screen to confirm that rooting was successful.
- The Kinguser app will be automatically installed on your InnJoo device after a successful rooting.
- Reboot your device and check for root access. (To verify if your device is successfully rooted download and install Android Root Checker )
- If the root was a success, it should show you this:
GOODLUCK!
We ♥ Comments
Do you have anything to add to this article? Please do not hesitate to share it in our comment box below…↓
Join us on Facebook or Twitter now to get first hand updates from us !!!

This didn’t work on innjoo max 3 pro LTE
Please, is there a way to root it?
I use many desktop application to root but none of them was able to get the job done but I wonder if there is a way to use TWRP for rooting it
Please how can I root innjoo max2 plus
Same Steps as mentioned…
Steps to Root InnJoo Max
First, you need to download the latest Kingroot app.
Secondly, install the app on your device.
Ensure you have an internet connection on your device. Because it will first verify your root status as seen in the image below.
Root InnJoo Note Pro 1
Wait for all checks to be complete. If completed, your root status will be shown as this:
Root InnJoo Note Pro 2
Click on the blue “START ROOT” button below the screen to begin rooting.
The rooting process should start and you should see something like this.
Root InnJoo Note Pro 3
Wait for rooting to complete.
Note: Be aware that your phone may restart during the process of rooting.
You should see a blue tick reading Root Successful at the top of the screen to confirm that rooting was successful.
Root InnJoo Note Pro 4
The Kinguser app will be automatically installed on your InnJoo device after a successful rooting.
Reboot your device and check for root access. (To verify if your device is successfully rooted download and install Android Root Checker )
If the root was a success, it should show you this: