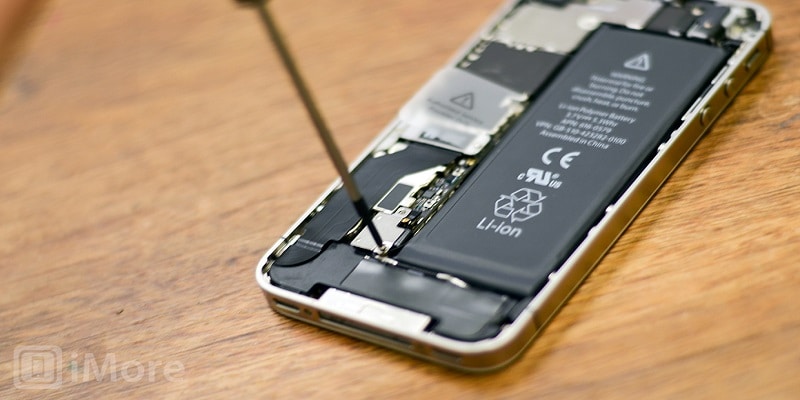
Every iPhone battery can be removed in the same way. The process to get it done is quite identical for all, but you have to make use of different tools according to the model you are dealing with. Plus, remember that different models will have component arrangements that are not alike.
See how you can remove the battery from the iPhone 7 and above, plus the slightly older iPhone 6 series smartphones to have the knowledge of how things can differ from one model to the other. If you know how to remove a battery from one iPhone, chances are high that you will know how to do just that for a newer version as well.
Removing The Battery For iPhone7 And Newer
Removing a battery from an iPhone might not be as simple as you expect. It can be done in your house with the appropriate tools and firm hands, but there is that risk that you can damage your device. Removing the battery will write off your warranty so it is a good idea to do it in a licensed Apple Store.
If you want to remove an iPhone battery at home, you need these tools:
- Suction cup.
- Spudger.
- Pentalobe P2 screwdriver.
- 2mm screwdriver.
- 6mm screwdriver.
- 3mm screwdriver.
- 1mm screwdriver.
- 1mm screwdriver.
- 9mm screwdriver.
Even though the list might seem imposing, the process itself is not complicated if you are very careful. Ensure you power off your iPhone first and then warm up the bottom section of the case. Fix the suction cup to the screen and carefully lift the bottom of the screen as you use the spudger to pry it open.
Be cautious not to apply force because it can have a negative effect on the wiring. As soon as you remove all the adhesives, ensure the screen is turned right same way you will normally open a book. When you have done that, here are more steps to follow:
- Take out the four tri-point screws from the lower bracket display (search for a connecting ribbon).
- Remove the display bracket.
- Remove the battery connector.(the perpendicular plastic strip).
- Detach the other plastic strip and the gray strip under it.
- Unscrew the smaller tri-point screws holding the bracket over the second display ribbon.
- Take out the bracket.
- Take out the black plastic strip (the other connector).
- Move up the connector with the spudger and have it removed.
- Take out the screws from the barometric vent (black bracket in the bottom-left corner).
- Remove the barometric vent to see the Taptic Engine connector.
- Raise the black plastic connector up and take it out.
- Detach the screws and pull out the Taptic Engine from the case.
- Lift adhesive strips covering the battery away from the surface (you may need to warm up the adhesive).
- Pull out the battery.
Be Warned
It is obvious, if you own an ancient iPhone a more recent one, removing your battery involves a similar process. You might have to get different tools for several screws and connectors but it is pretty much the same guidelines all iPhone user will get to follow.
Do not force-pull the screen as you might be toying with breaking your case, cables, or connectors, and that can cause serious damage to your iPhone. If the adhesive is an issue, make use of a hair drier from a distance to have it warmed up.
Do not forget to always ensure all connectors between the display and the screen are separated to separate the case.
Be as steady as possible on every step listed here, it is for your own good.

